TRP - Surgical Technique Manual
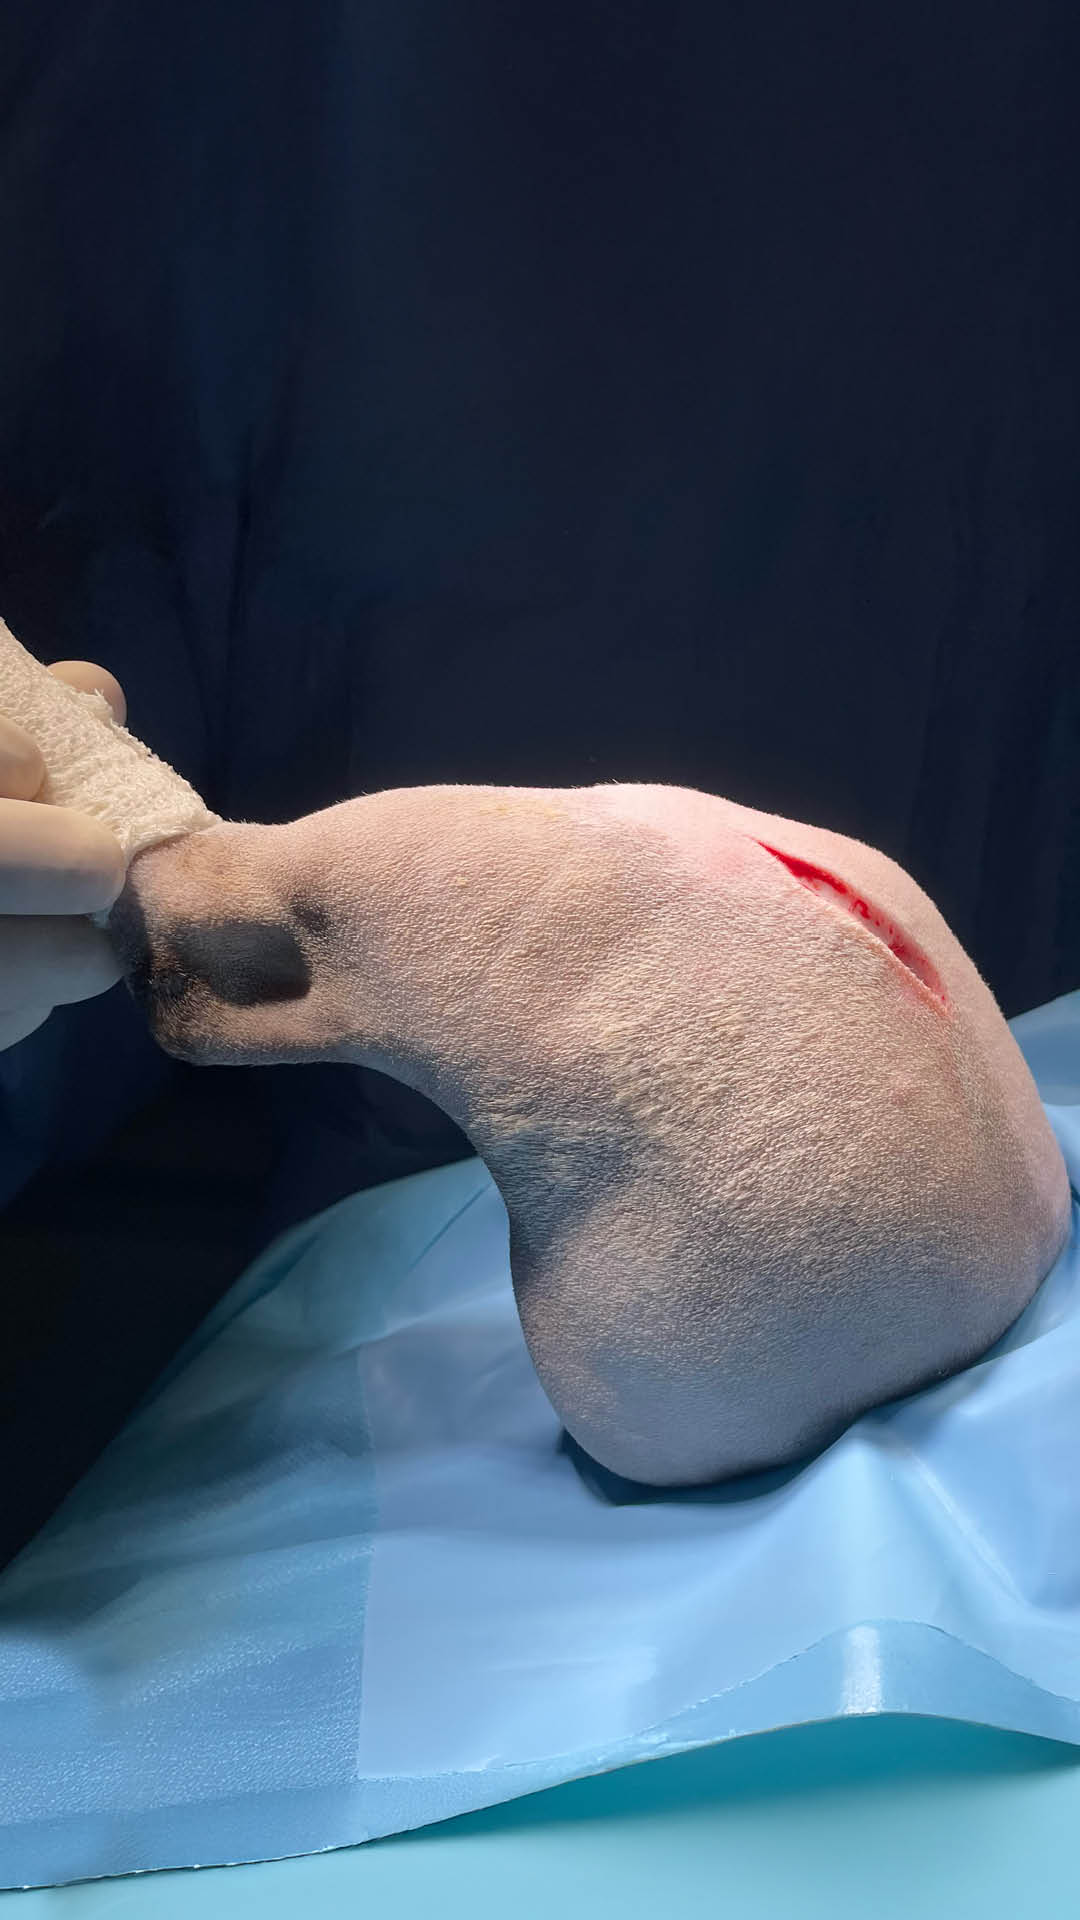
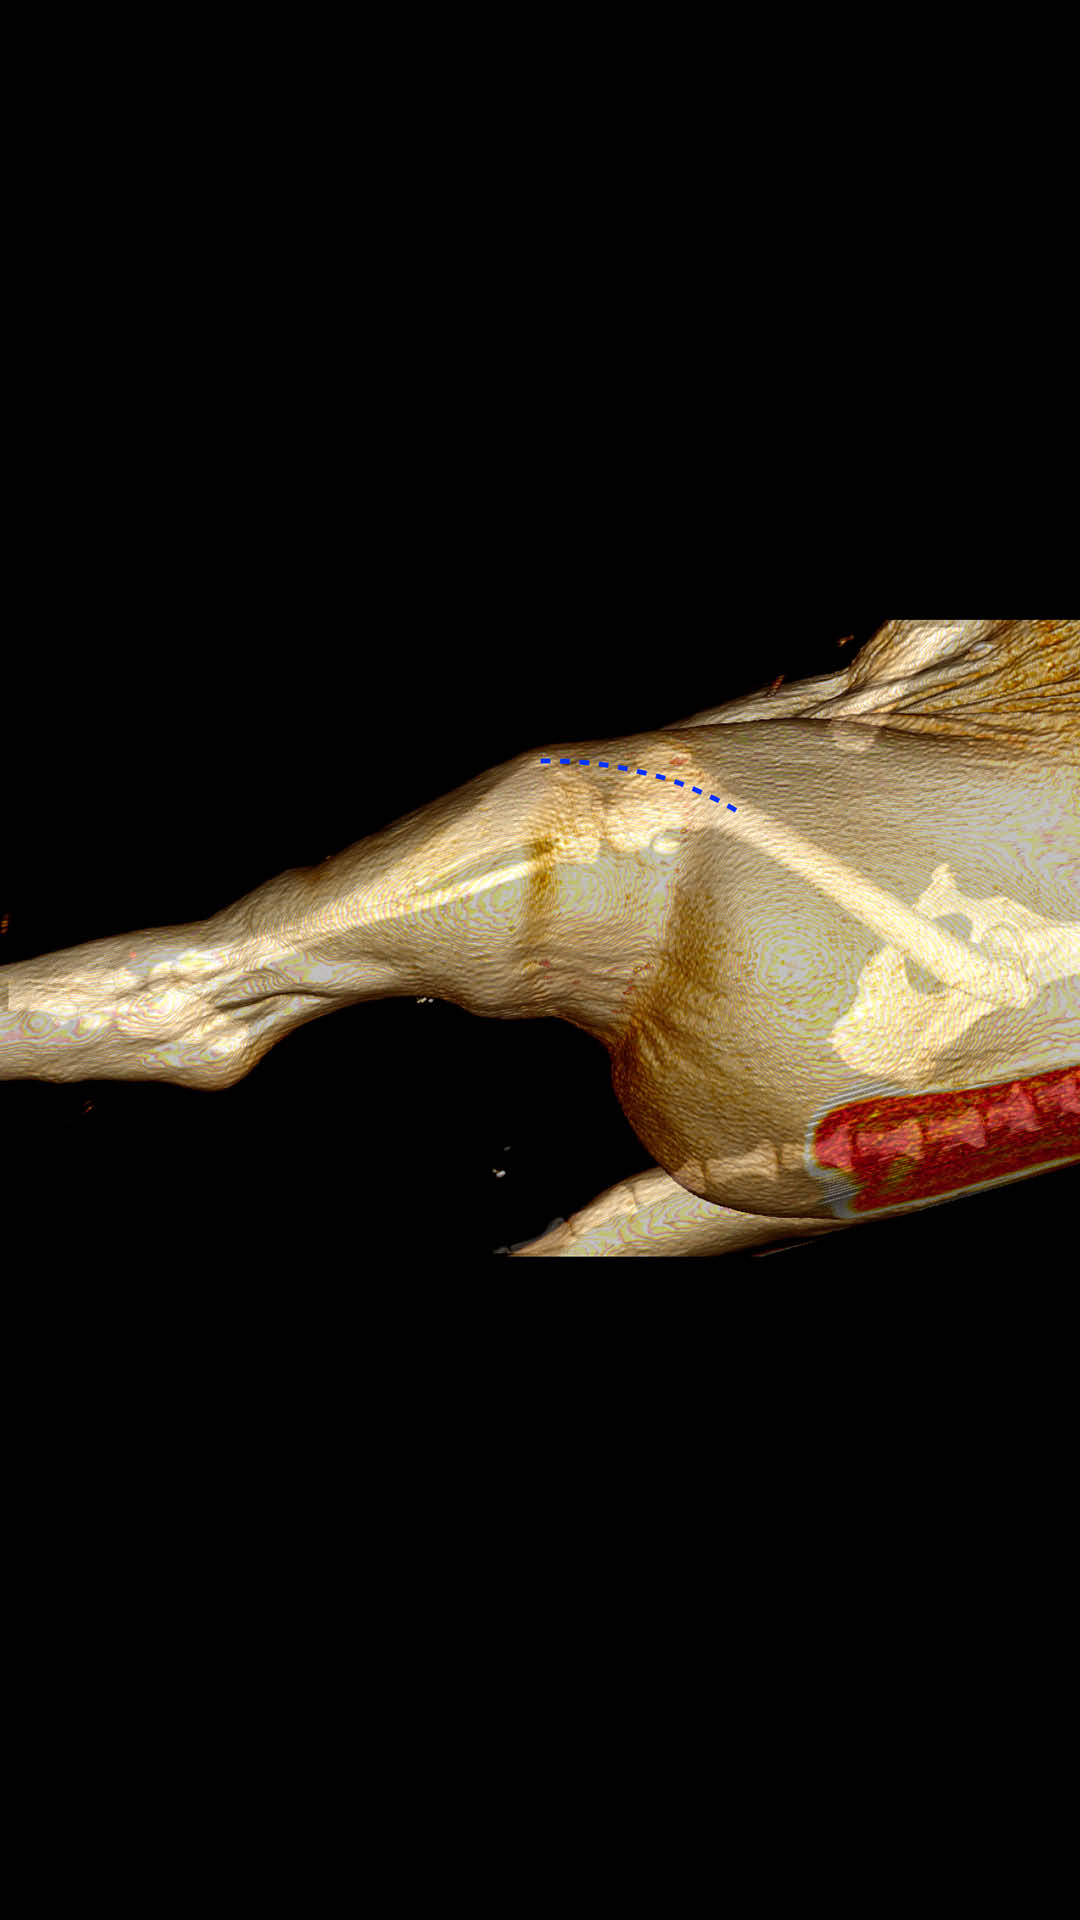
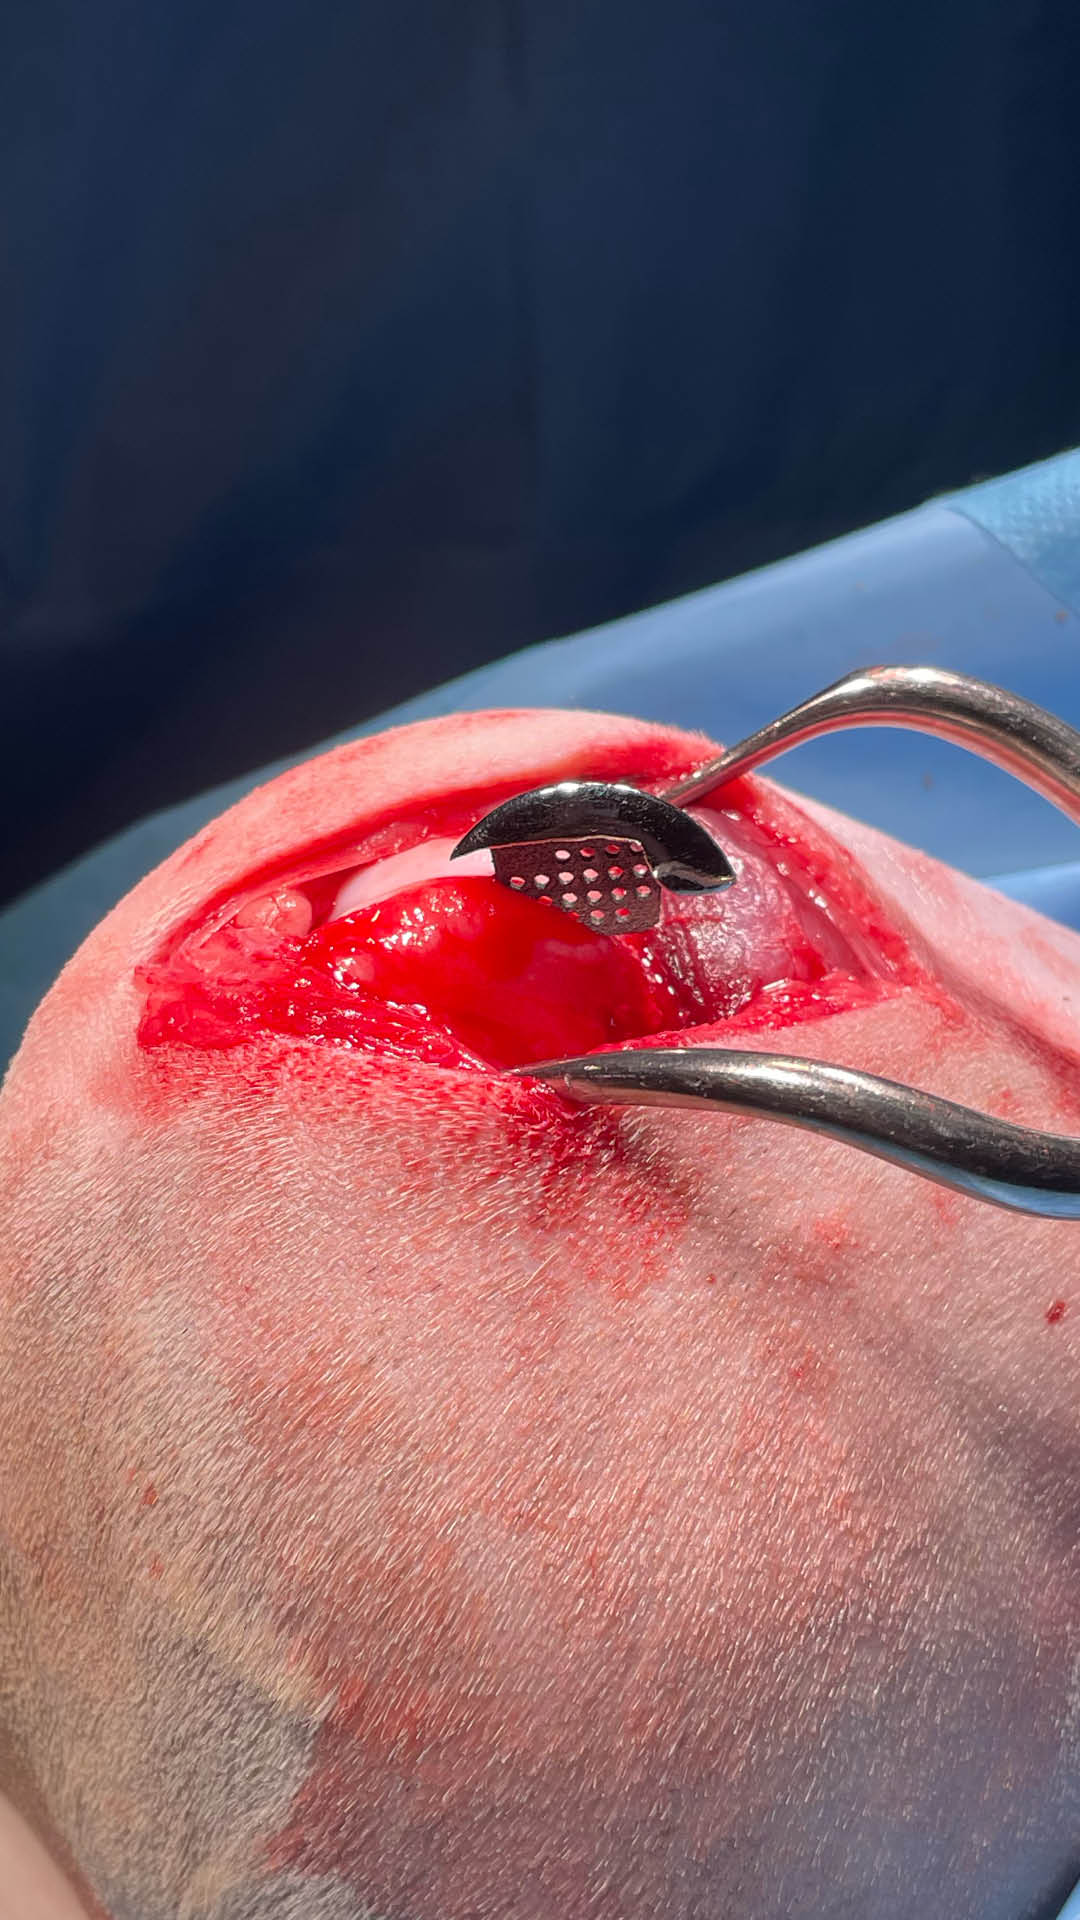
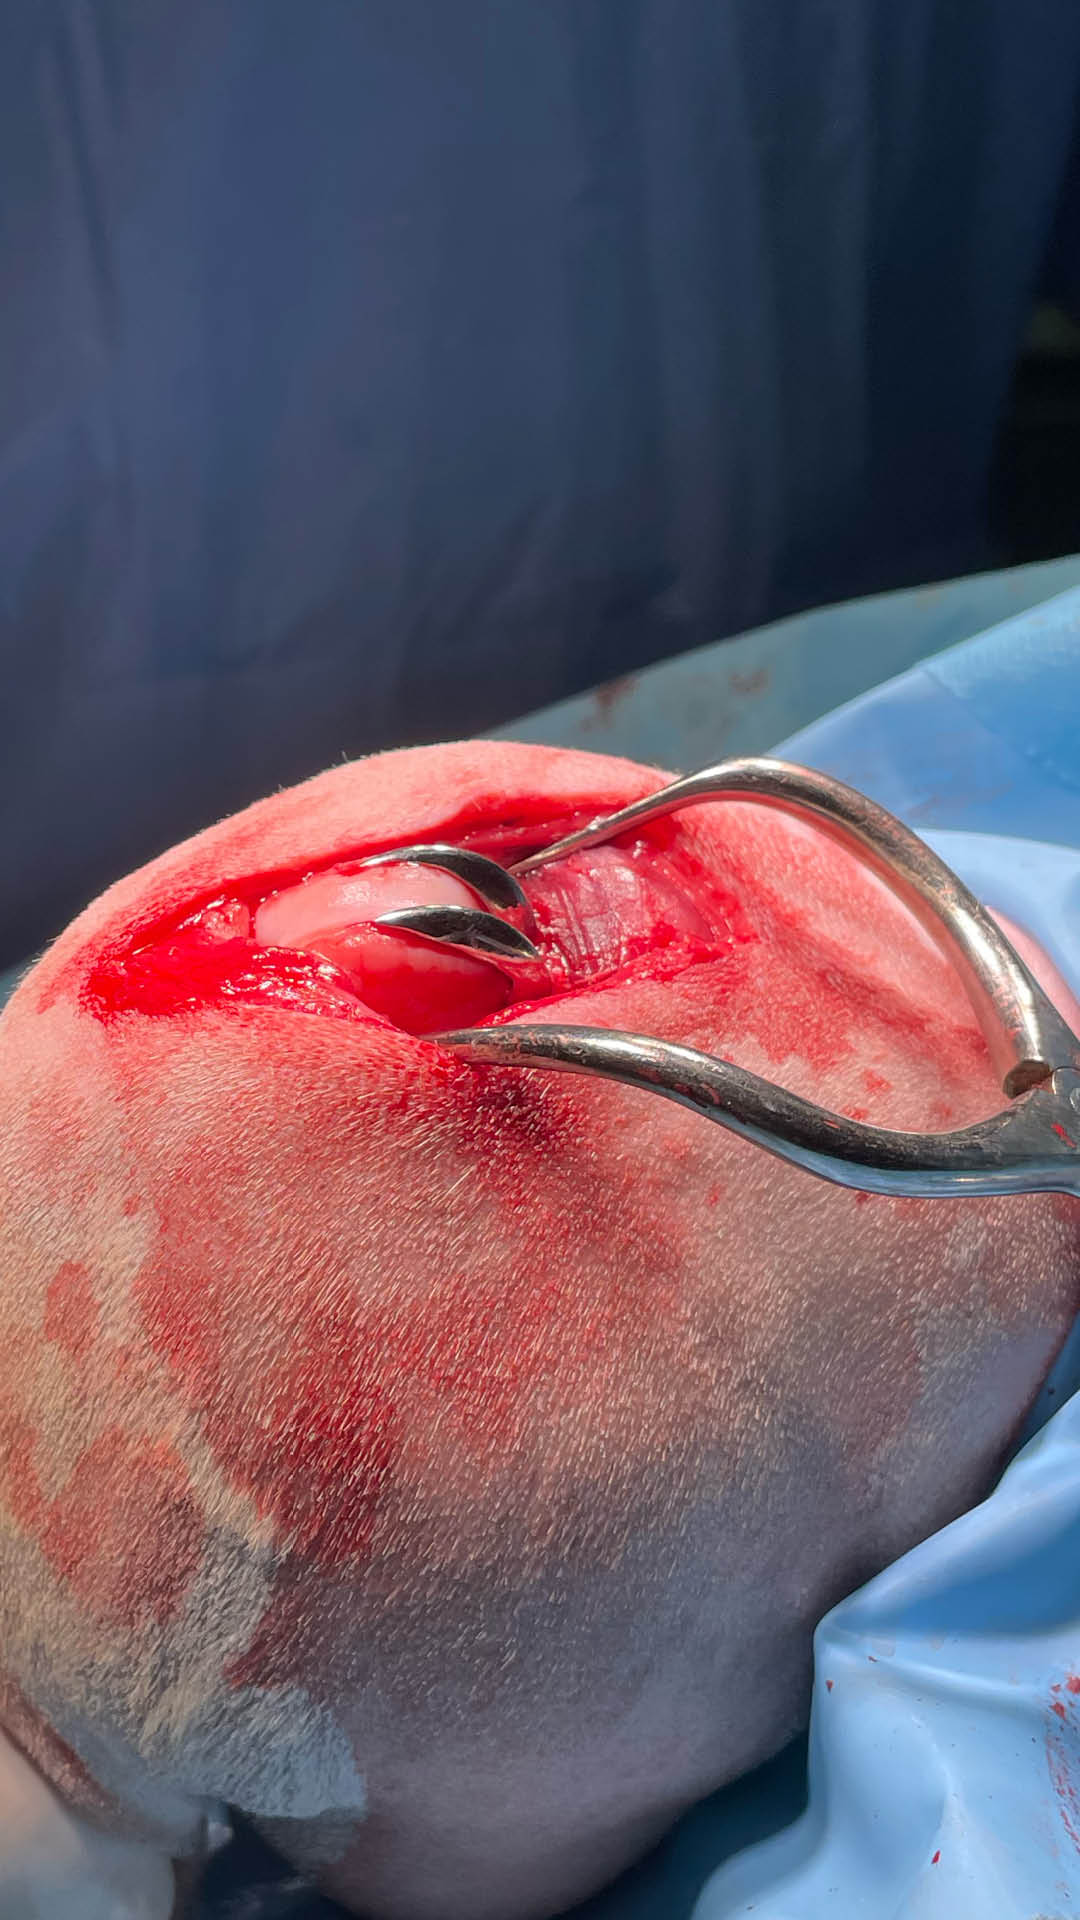
01- Lateral/medial parapatellar surgical approach
- Dashed blue line
- From the tibial tuberosity to approximately 2.0 cm proximal to the trochlear groove
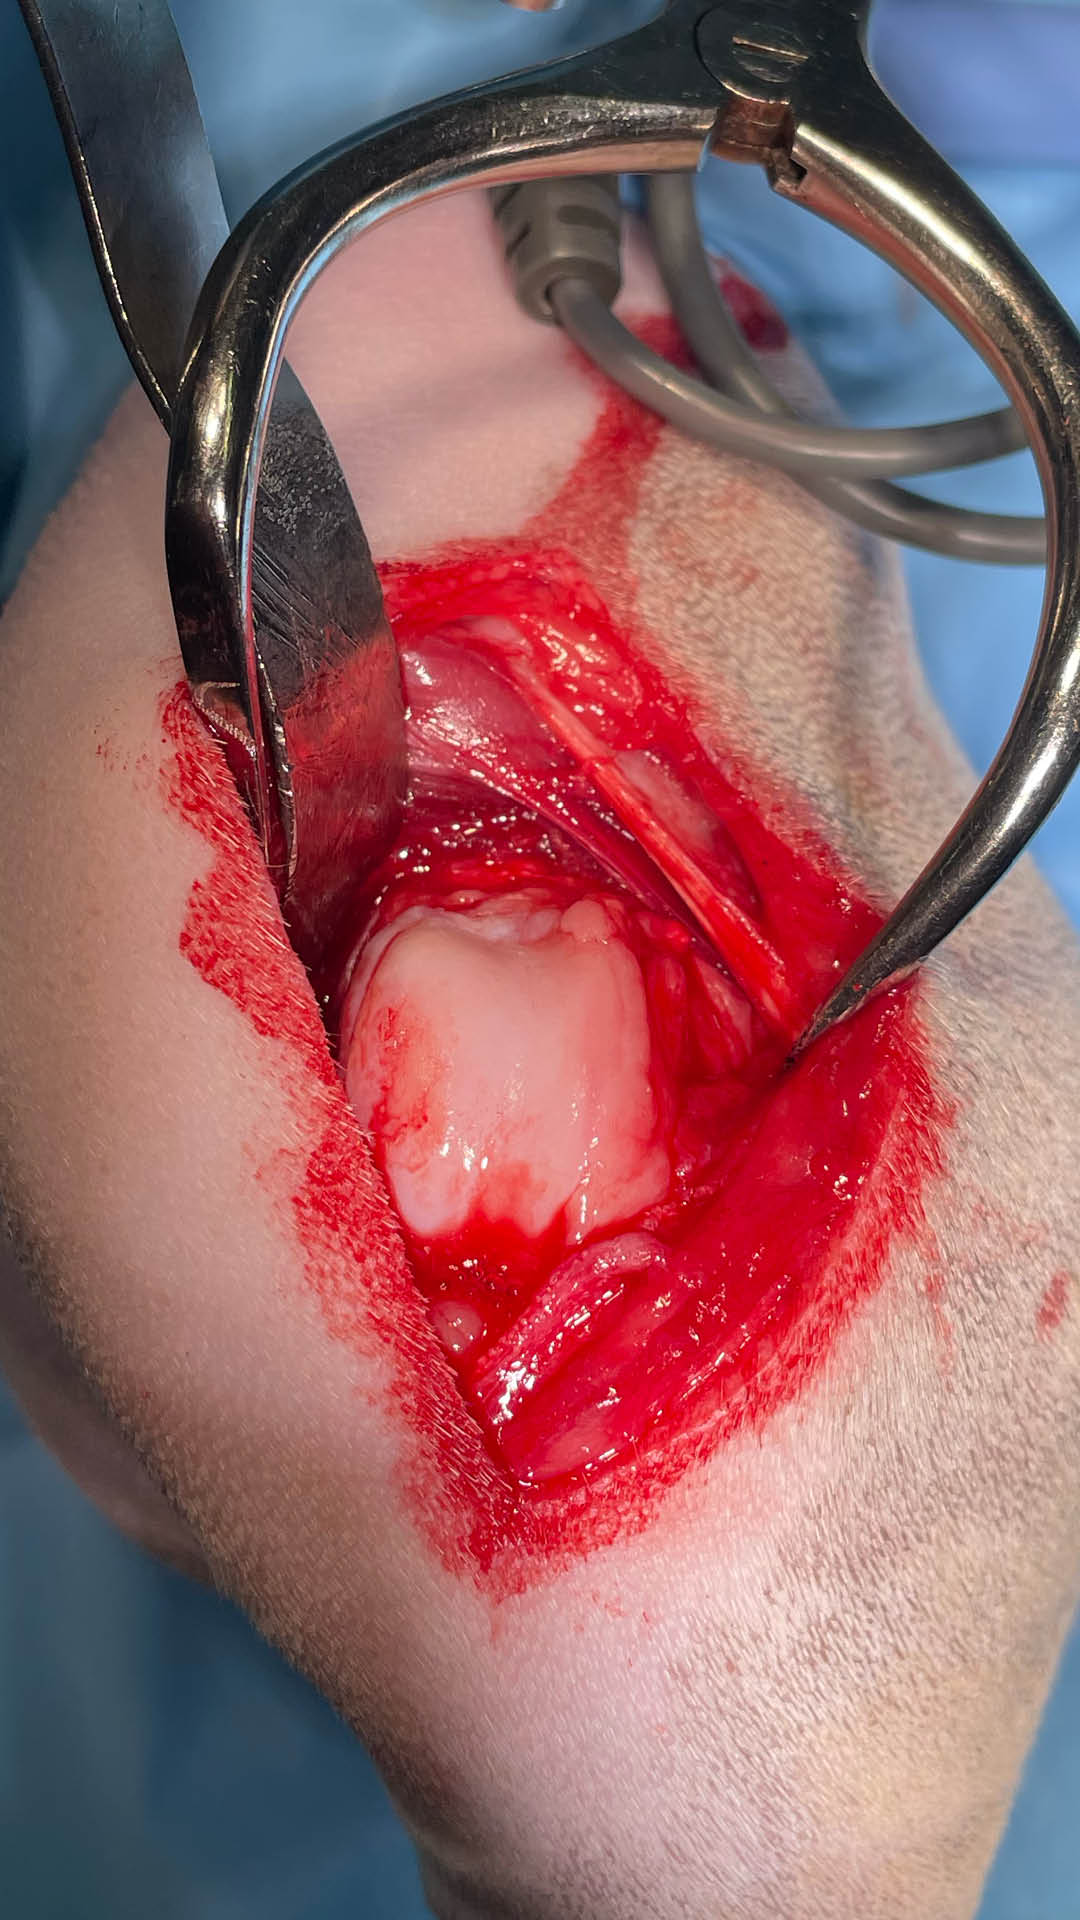
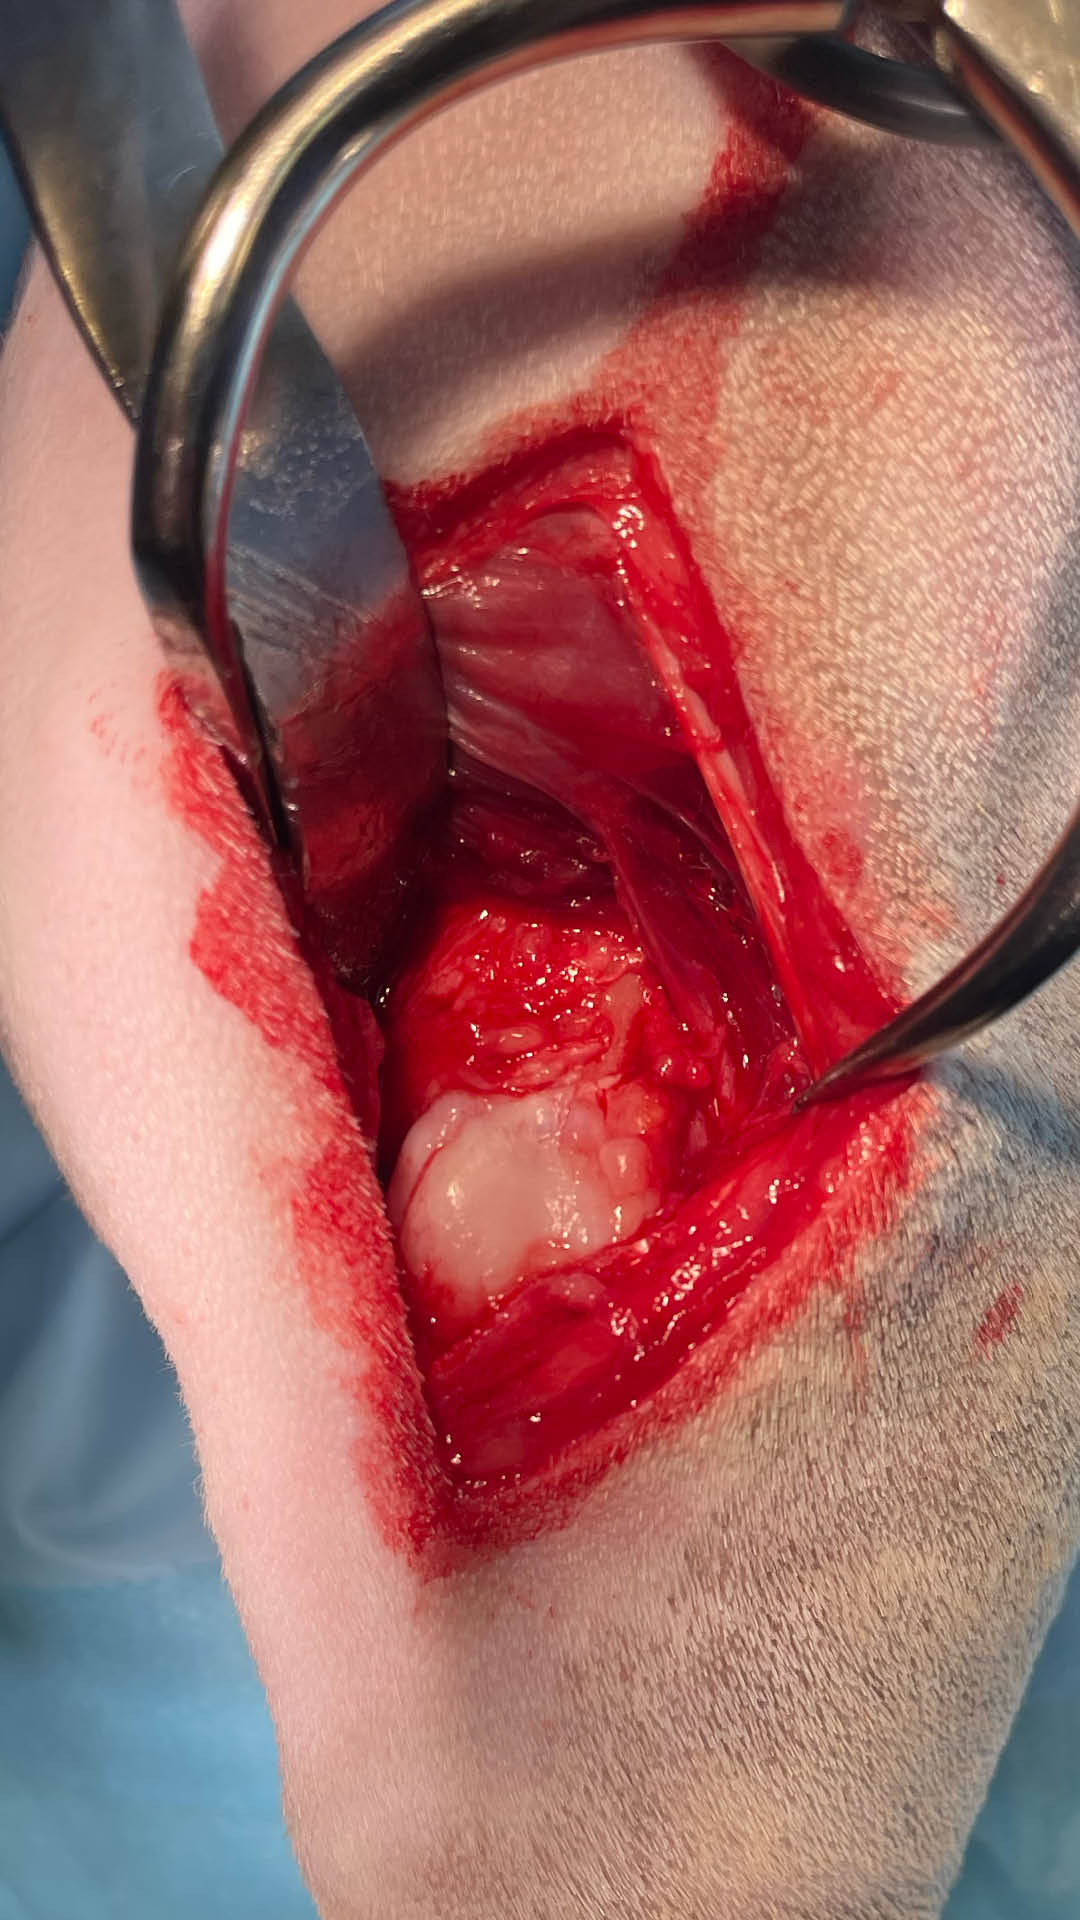
02- Exposure of the cranial surface of the distal femur
- Soft-tissue dissection 1 cm proximal to the trochlear groove
- The distal femur must be visible on its cranial, lateral and medial surfaces
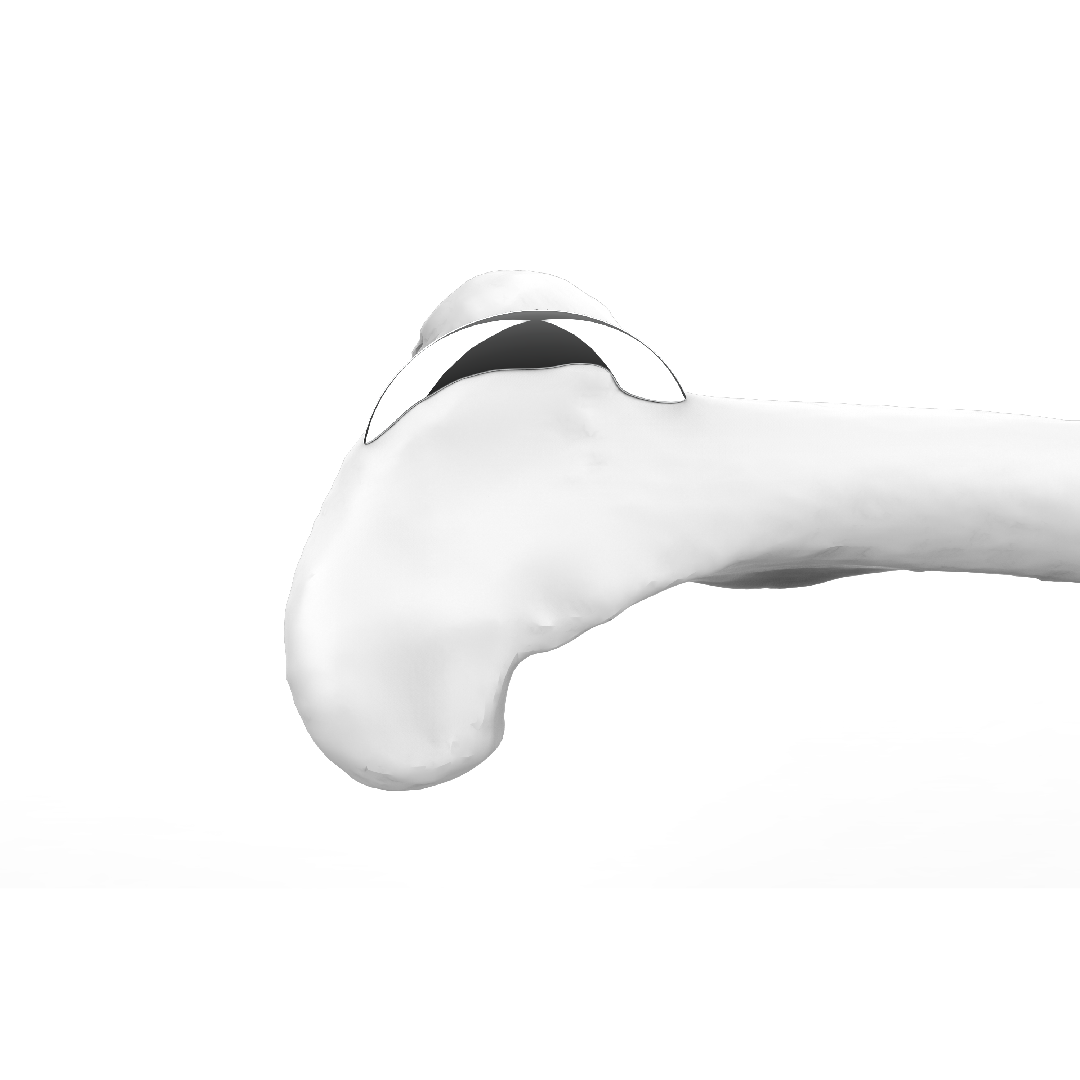
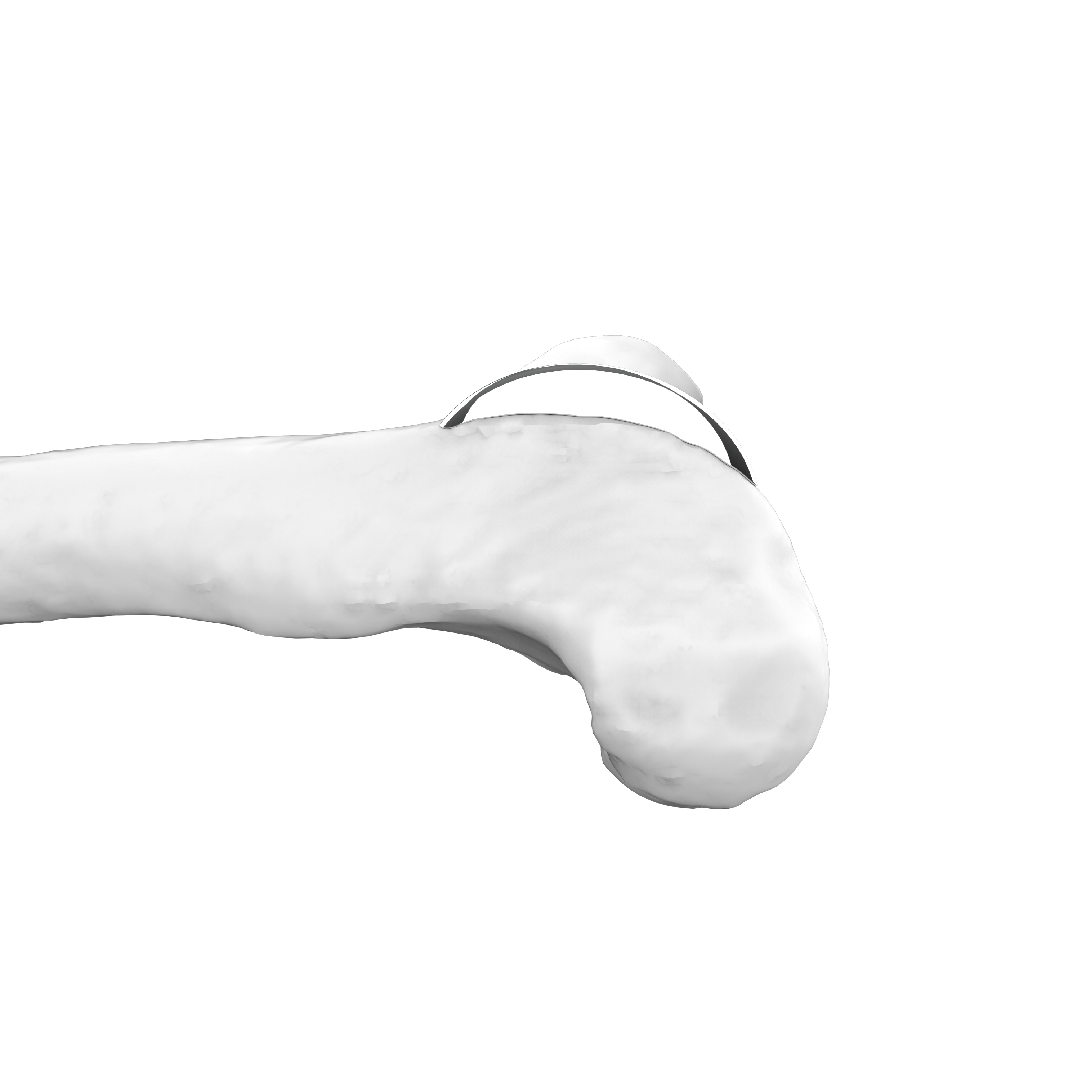
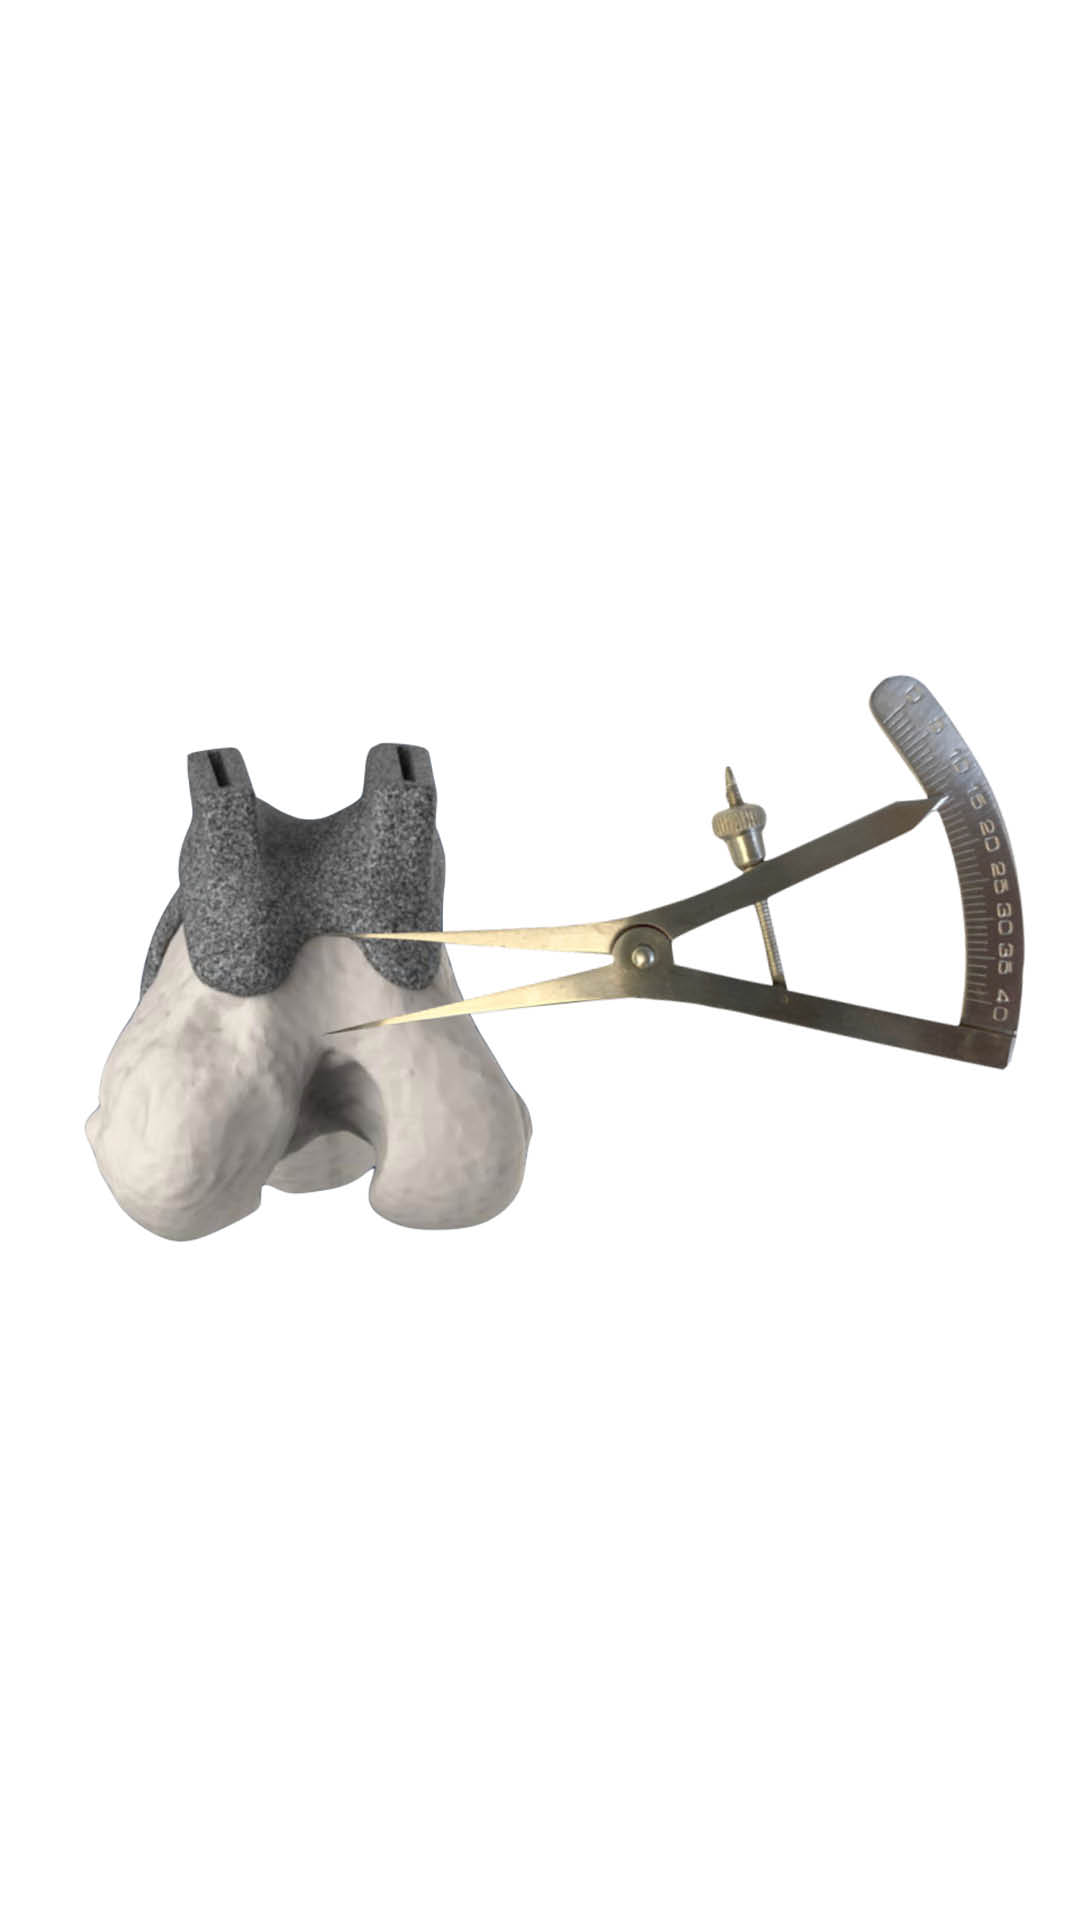
03- Check on the anatomical replica
- Using the anatomical replica, measure the distance from the surgical guide to the intercondylar notch
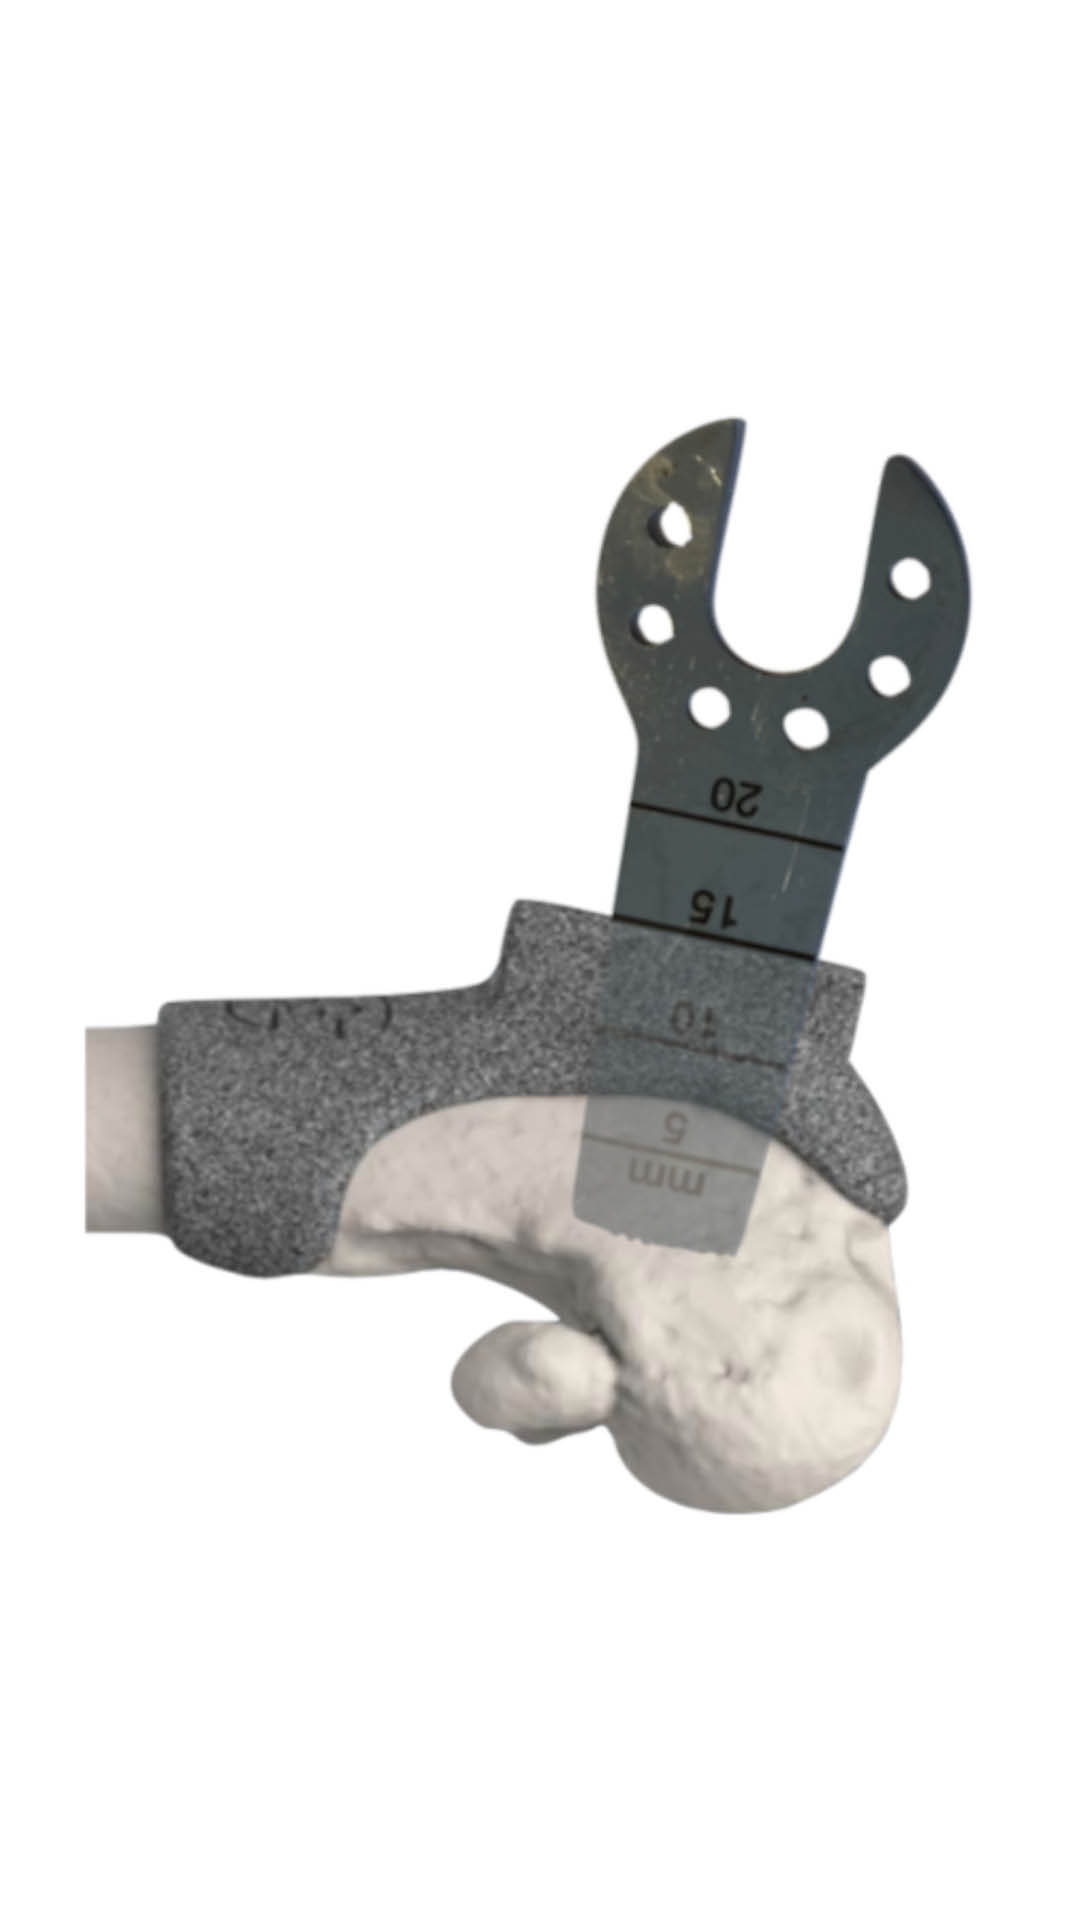
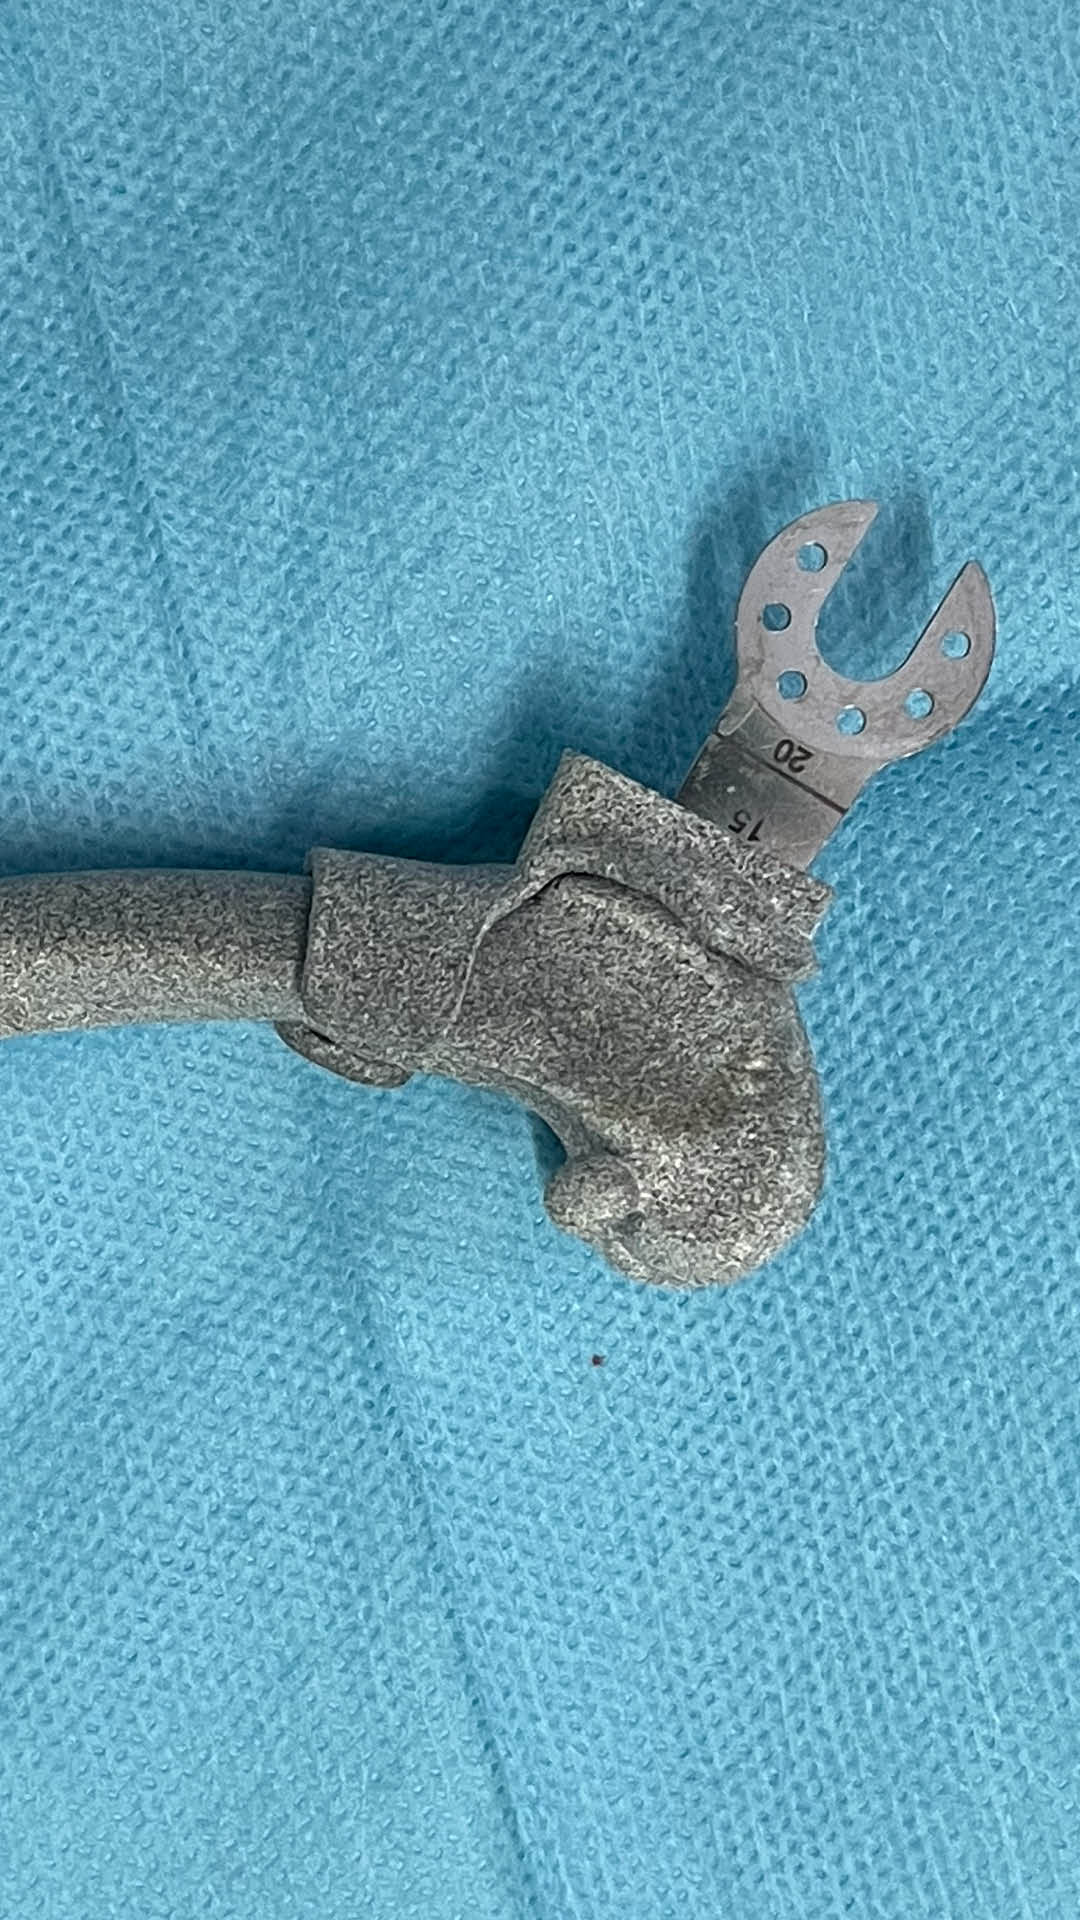
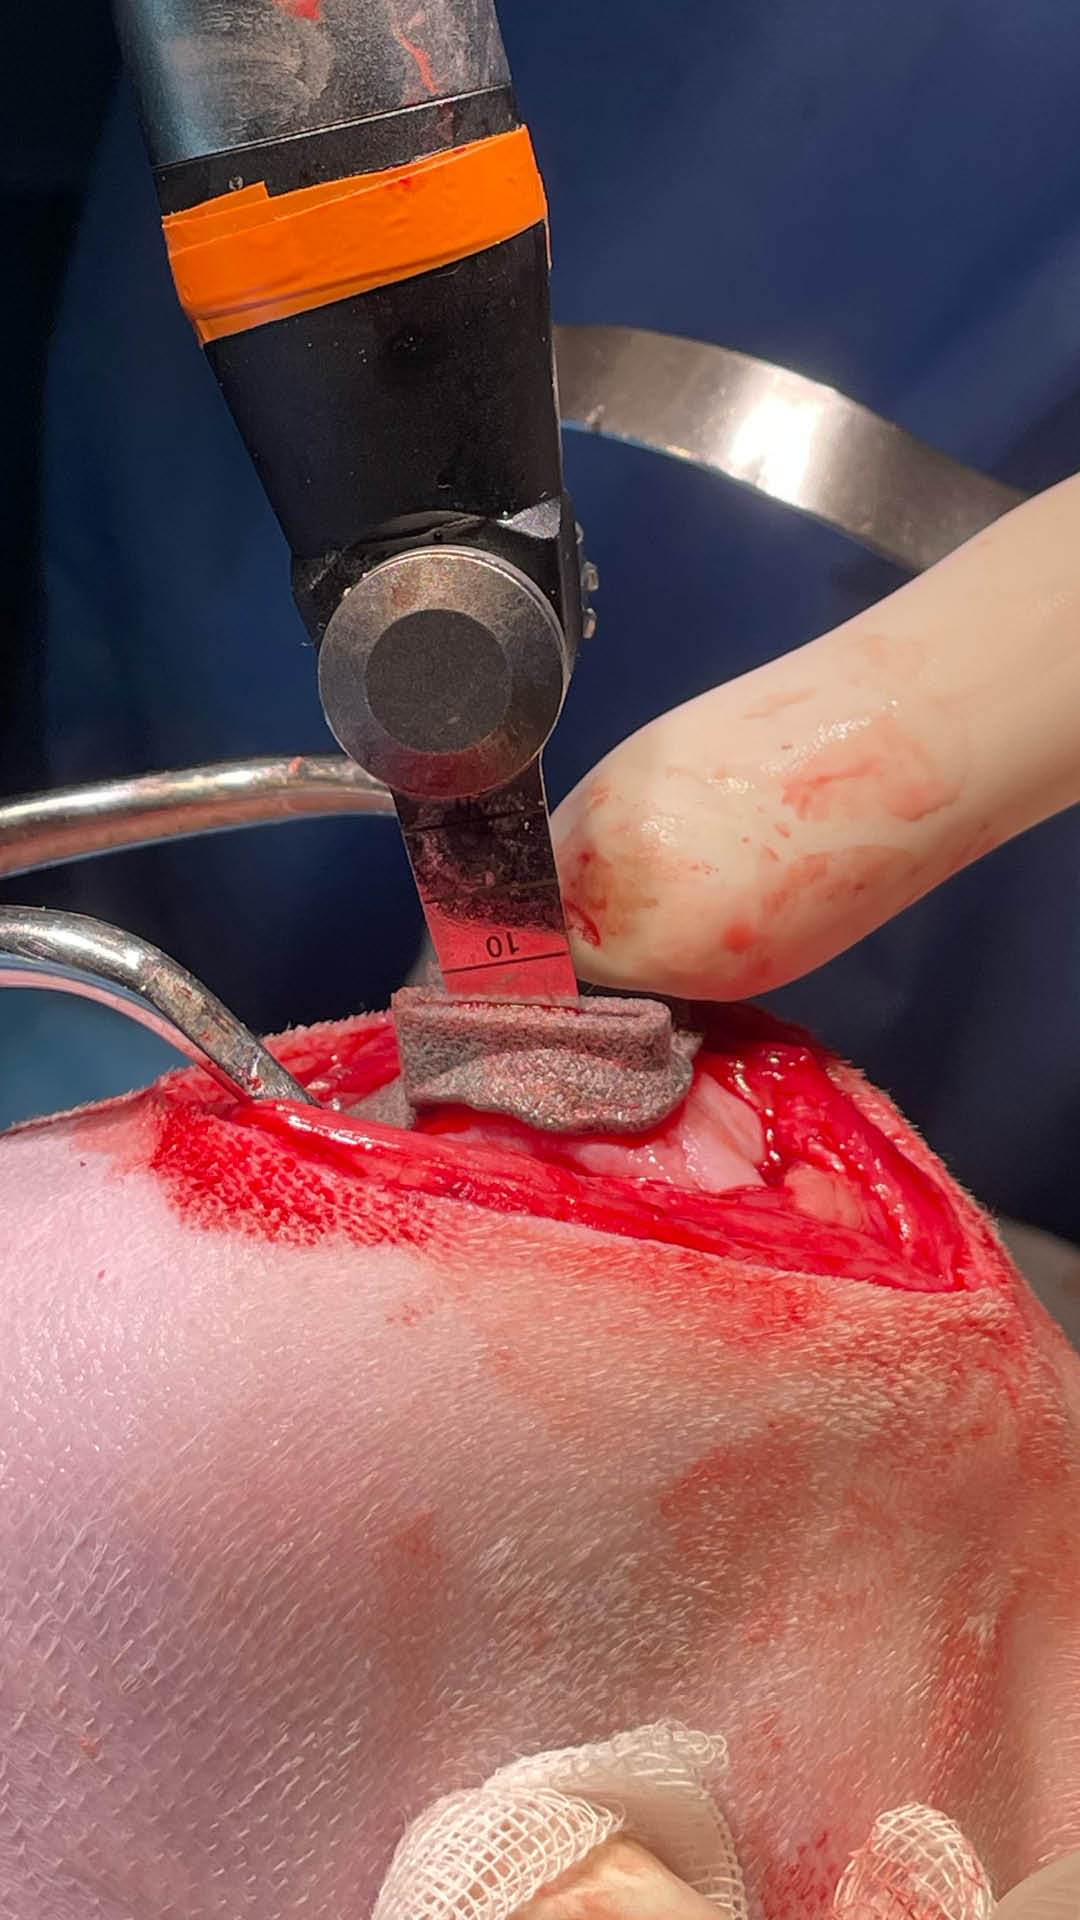
04- NB: To perform the surgical procedure correctly, an 8 mm wide blade, 0.4/0.3 mm thick and preferably graduated, is required.
- Check on the anatomical replica
- Check the depth of the graduated oscillating saw blade
- The blade must not reach the caudal cortex of the femur
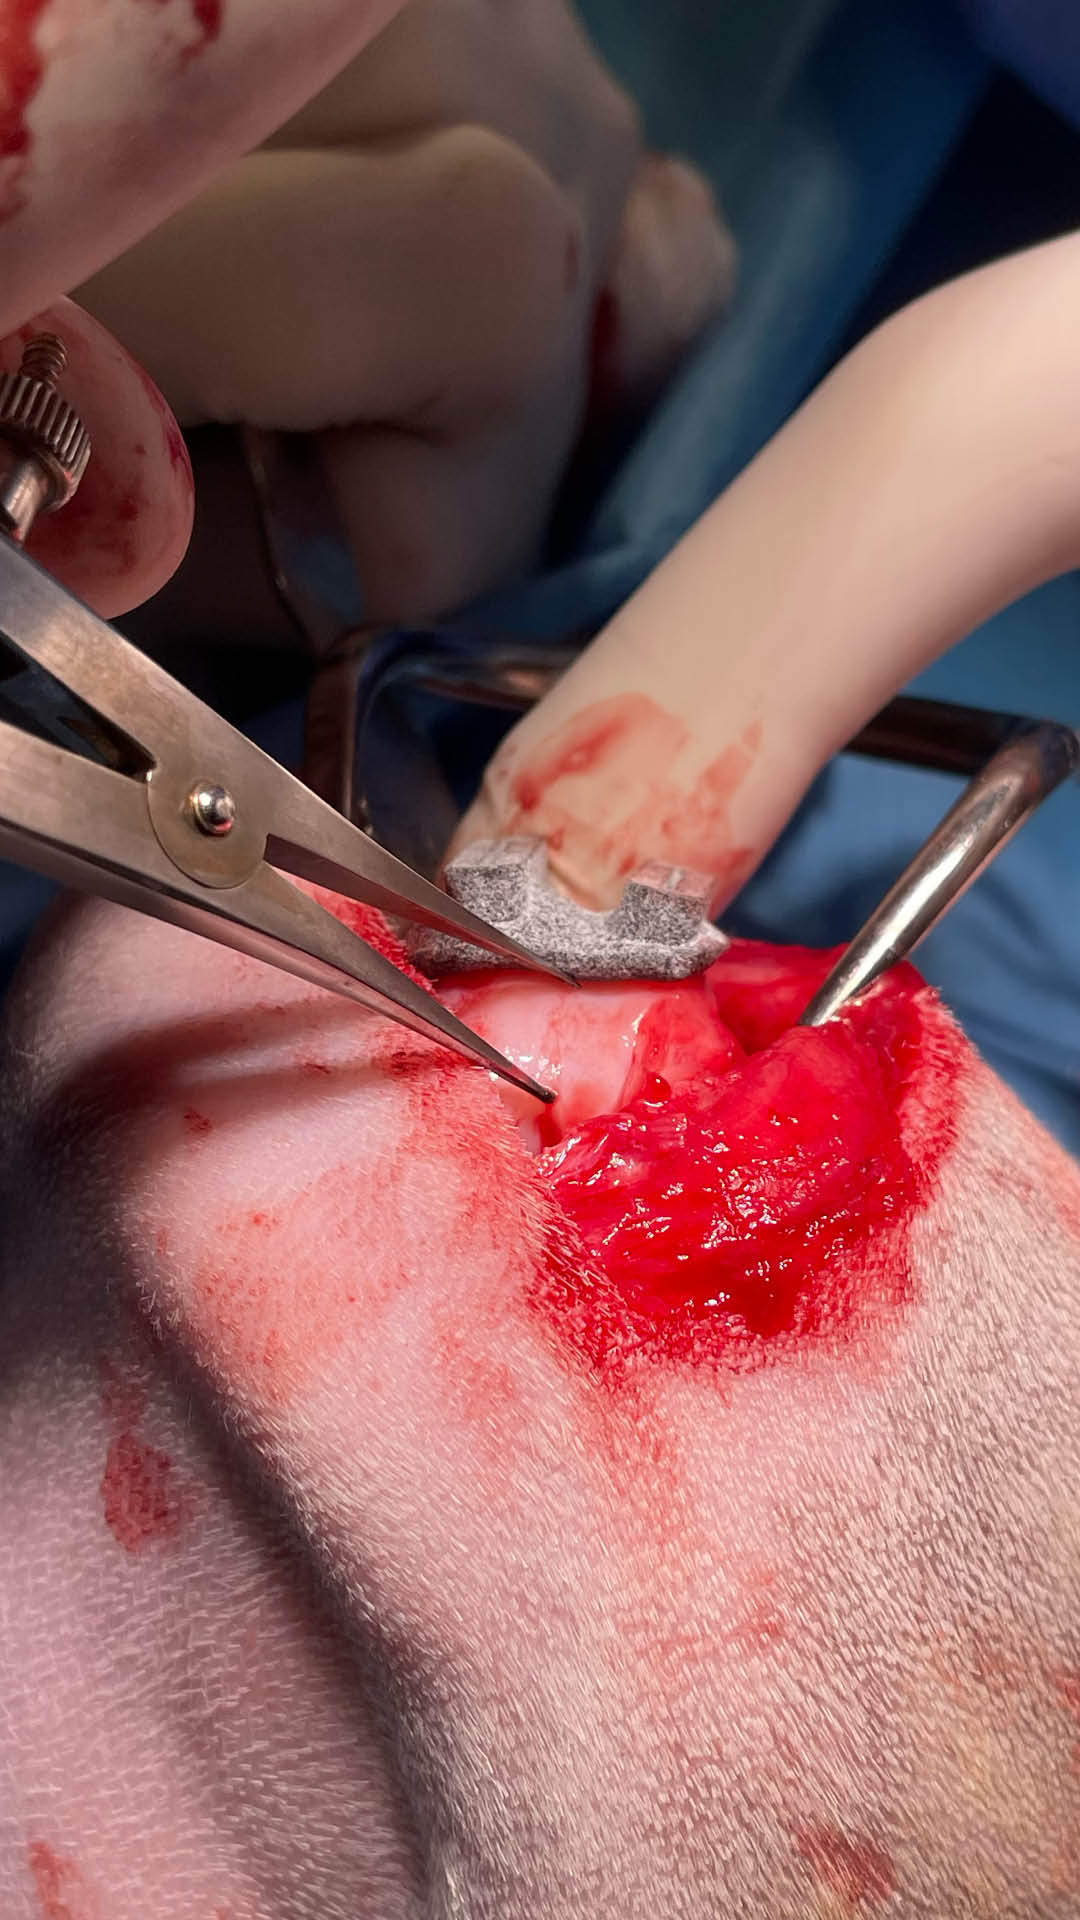
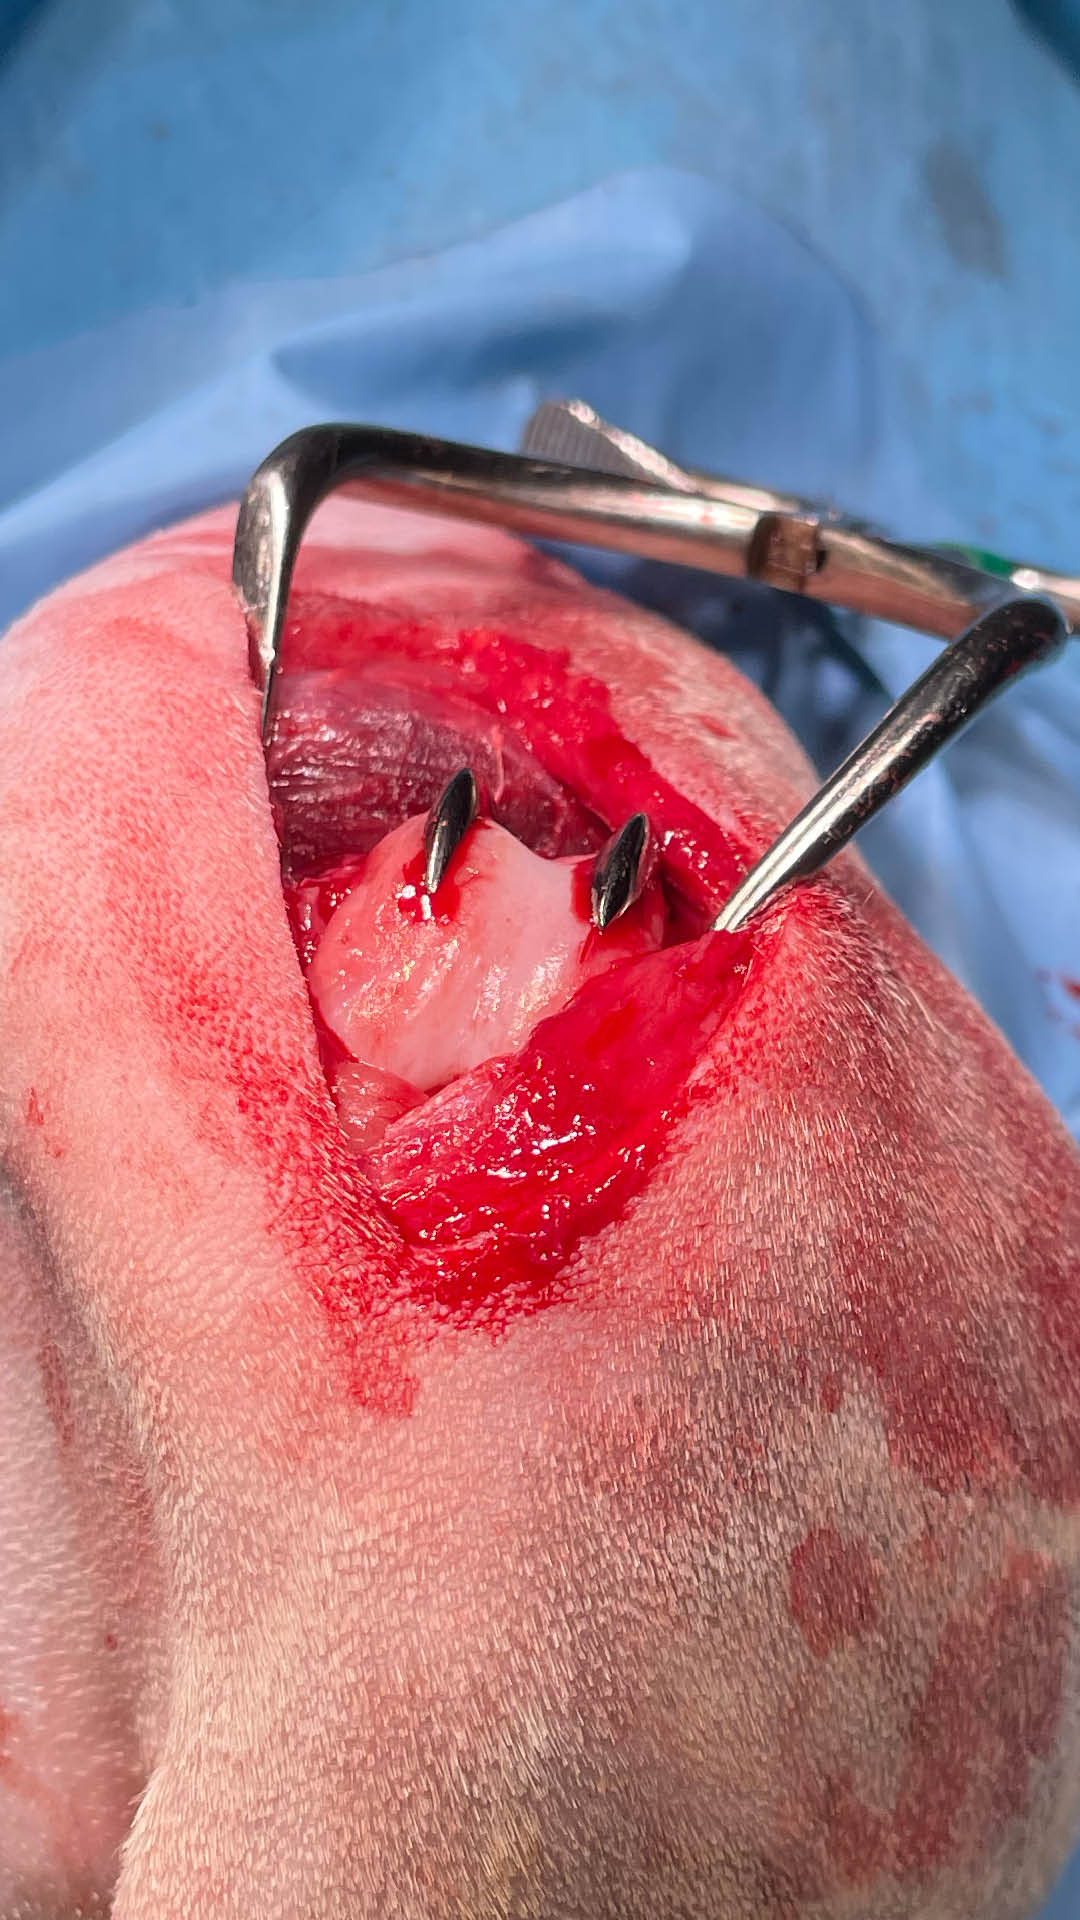
05- Surgical check
- Measure the distance from the surgical guide to the femoral intercondylar notch
- The distance must match the measurement taken on the replica
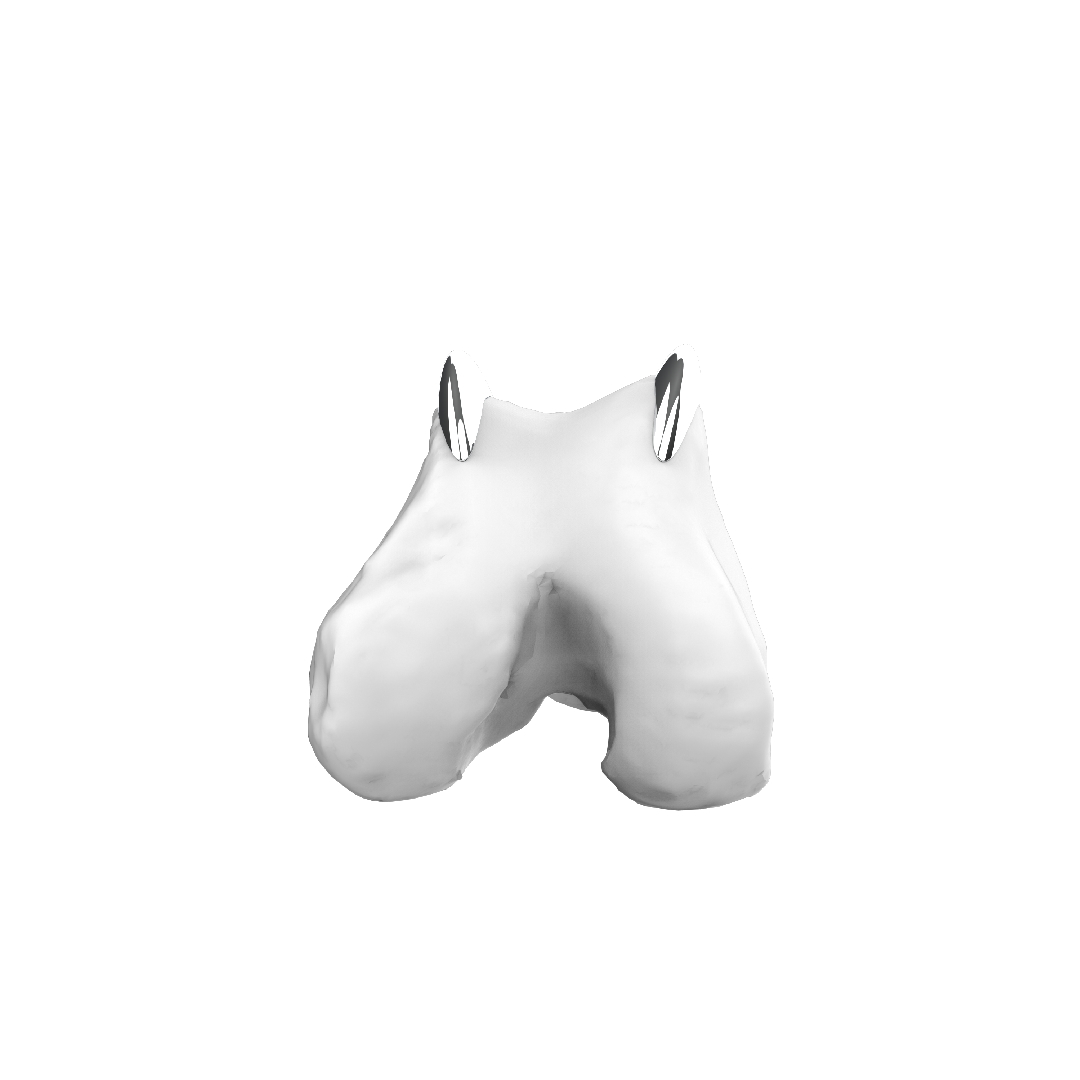
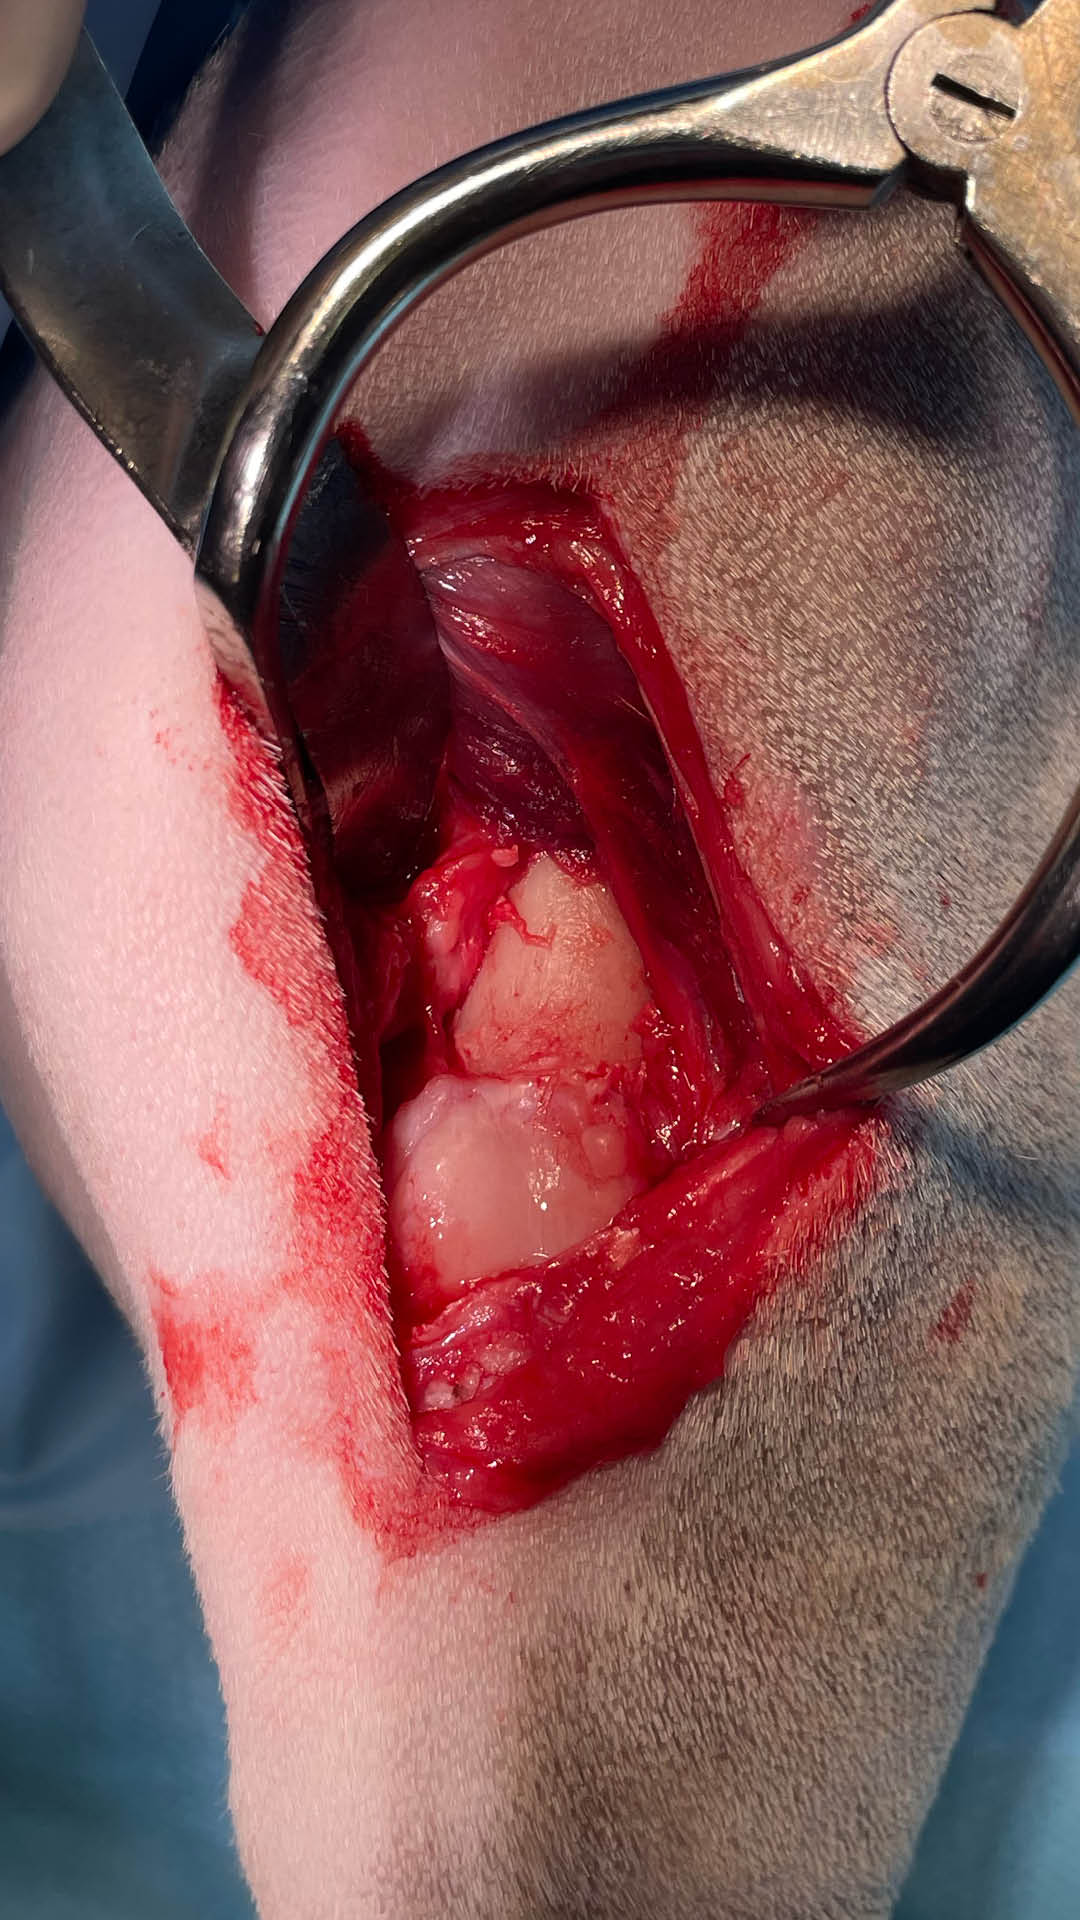
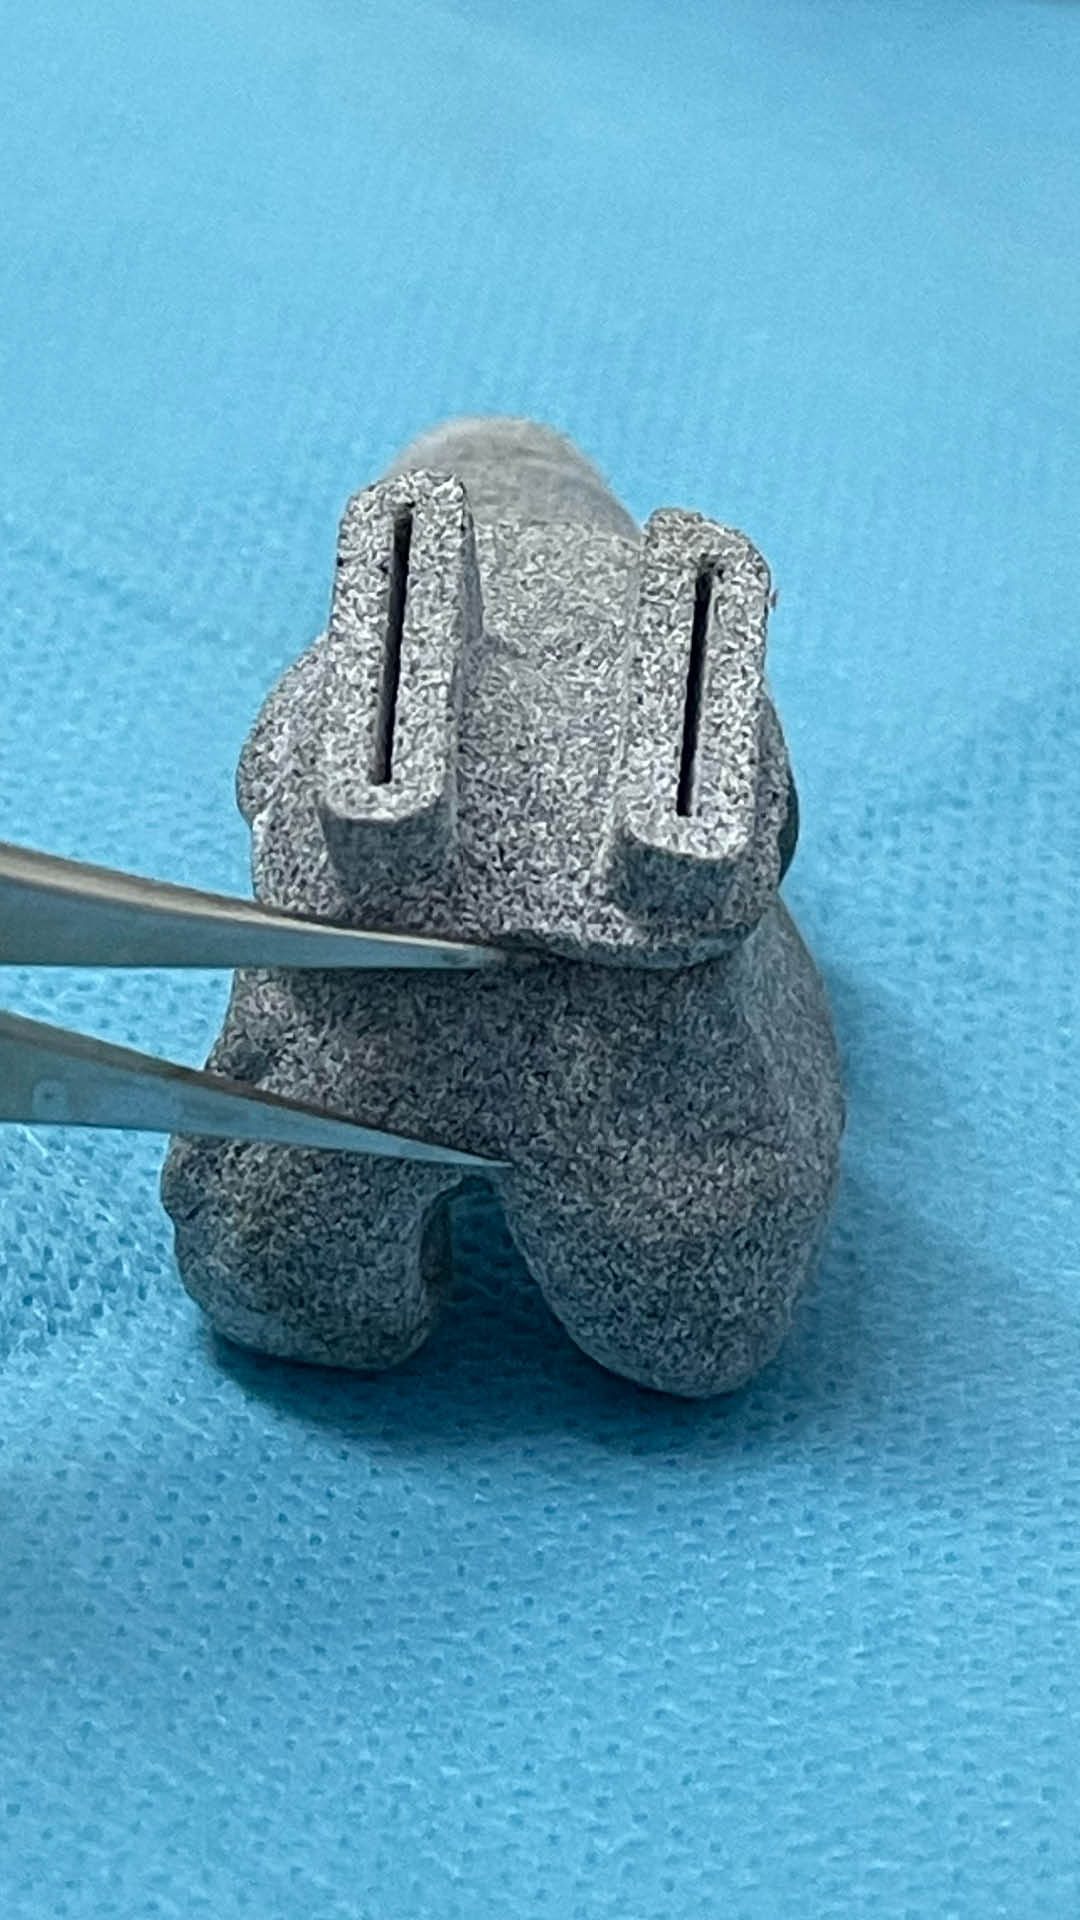
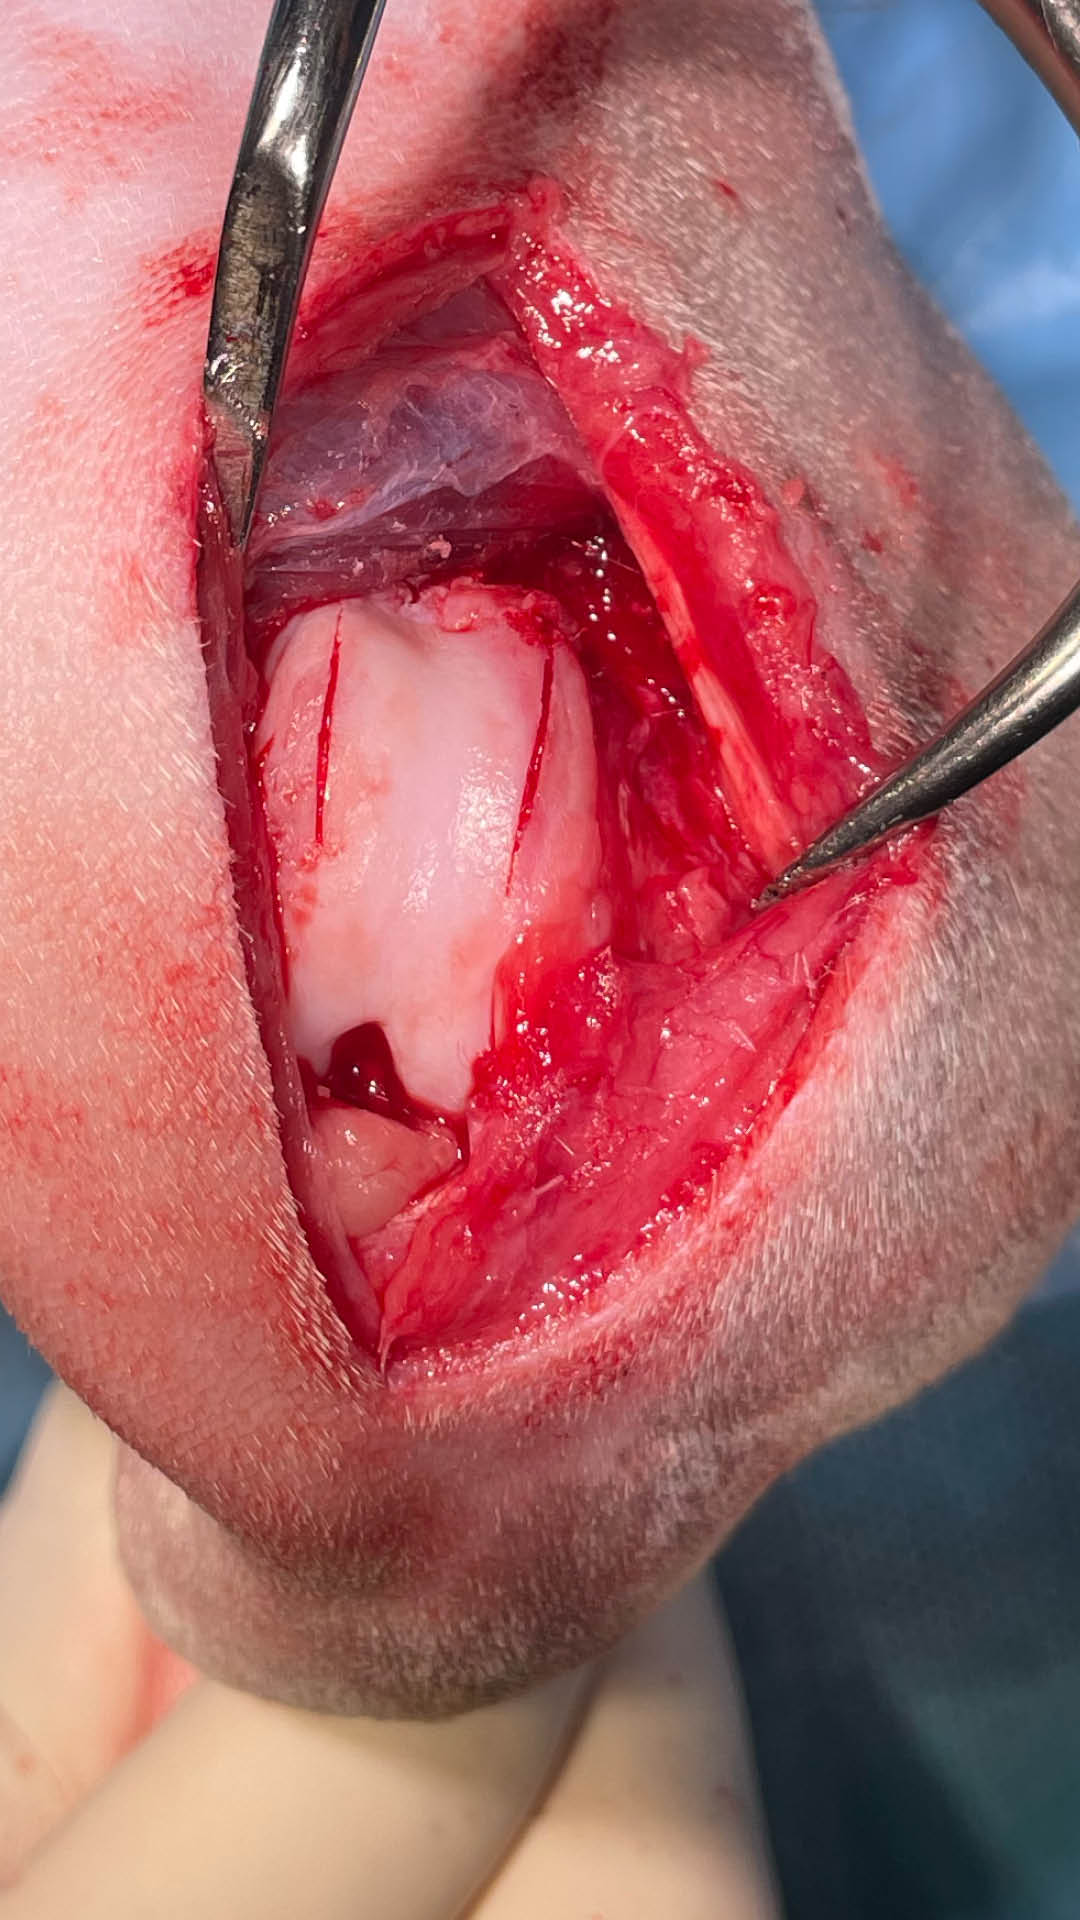
06- Osteotomies
- Perform two linear osteotomies through the two slots in the surgical guide
- Position the saw blade against the outer side of the slots
- Do not reach the caudal cortex of the femur
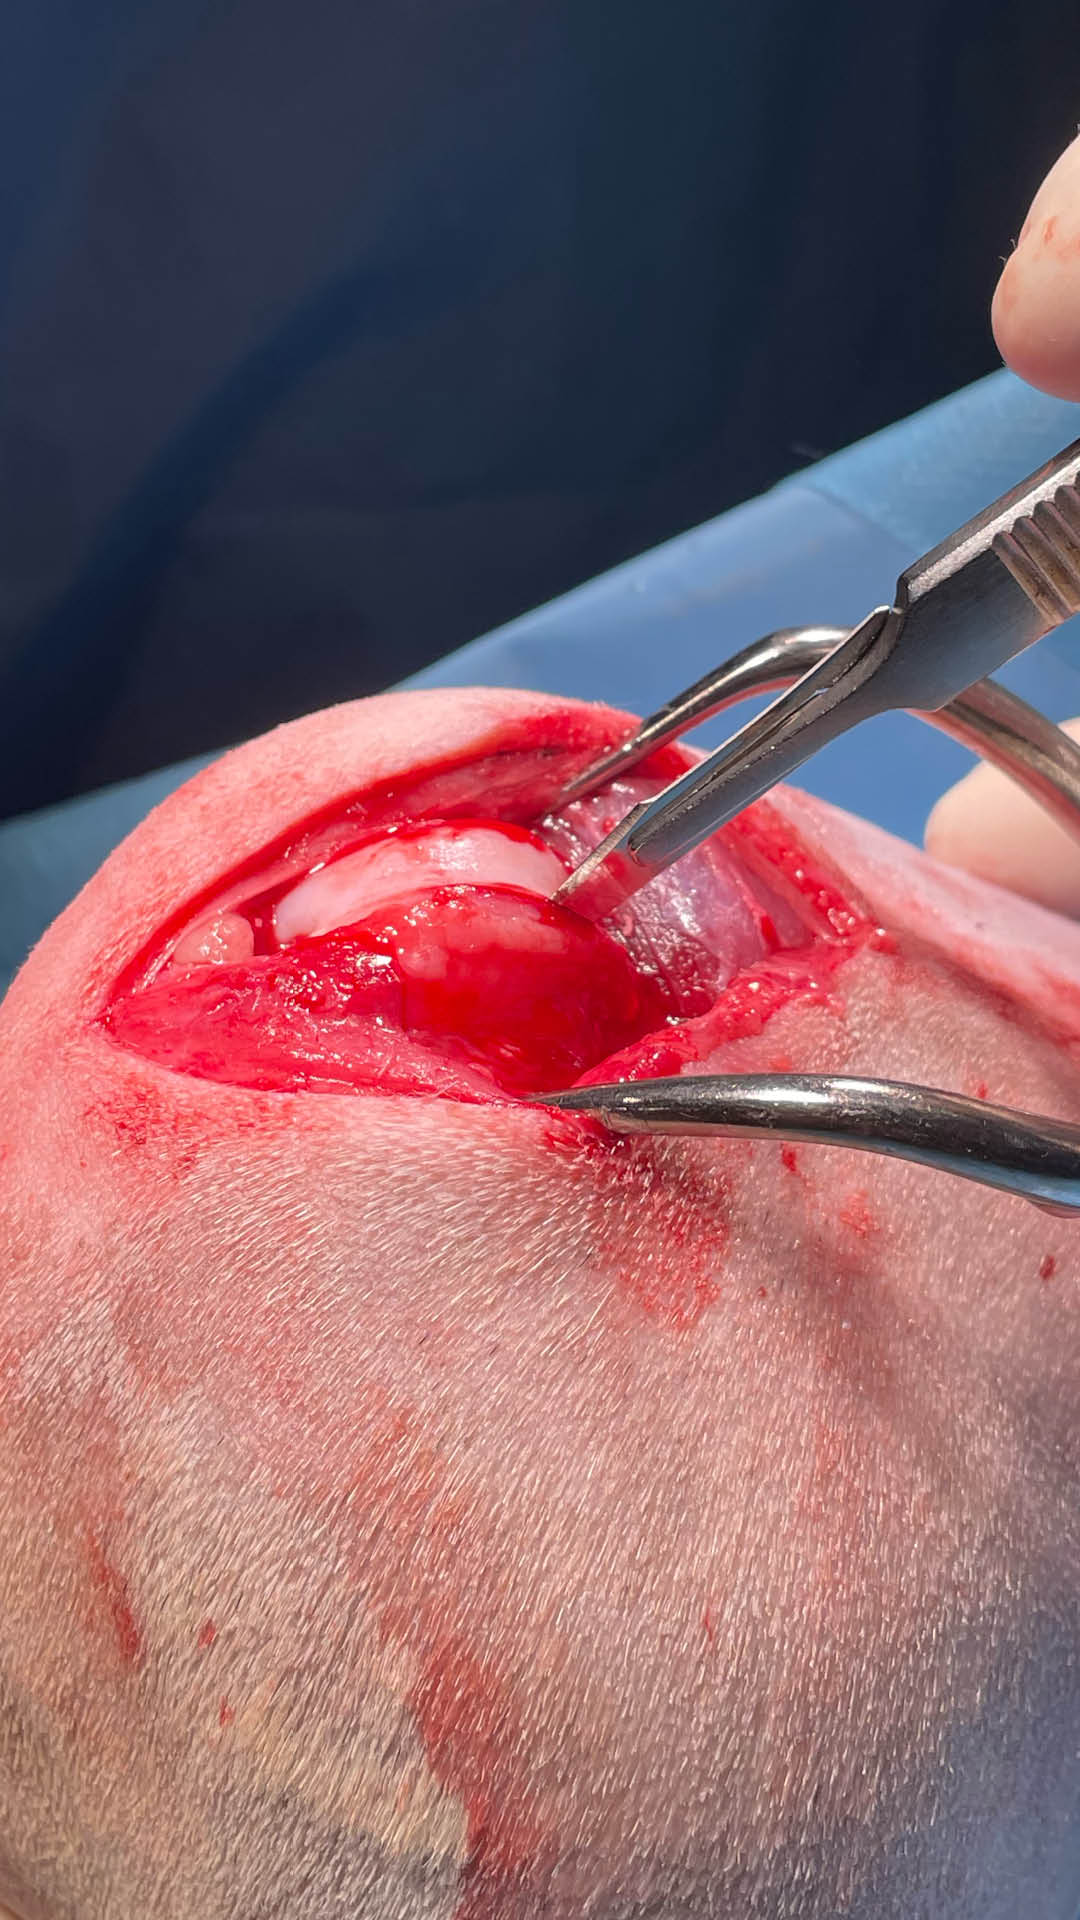
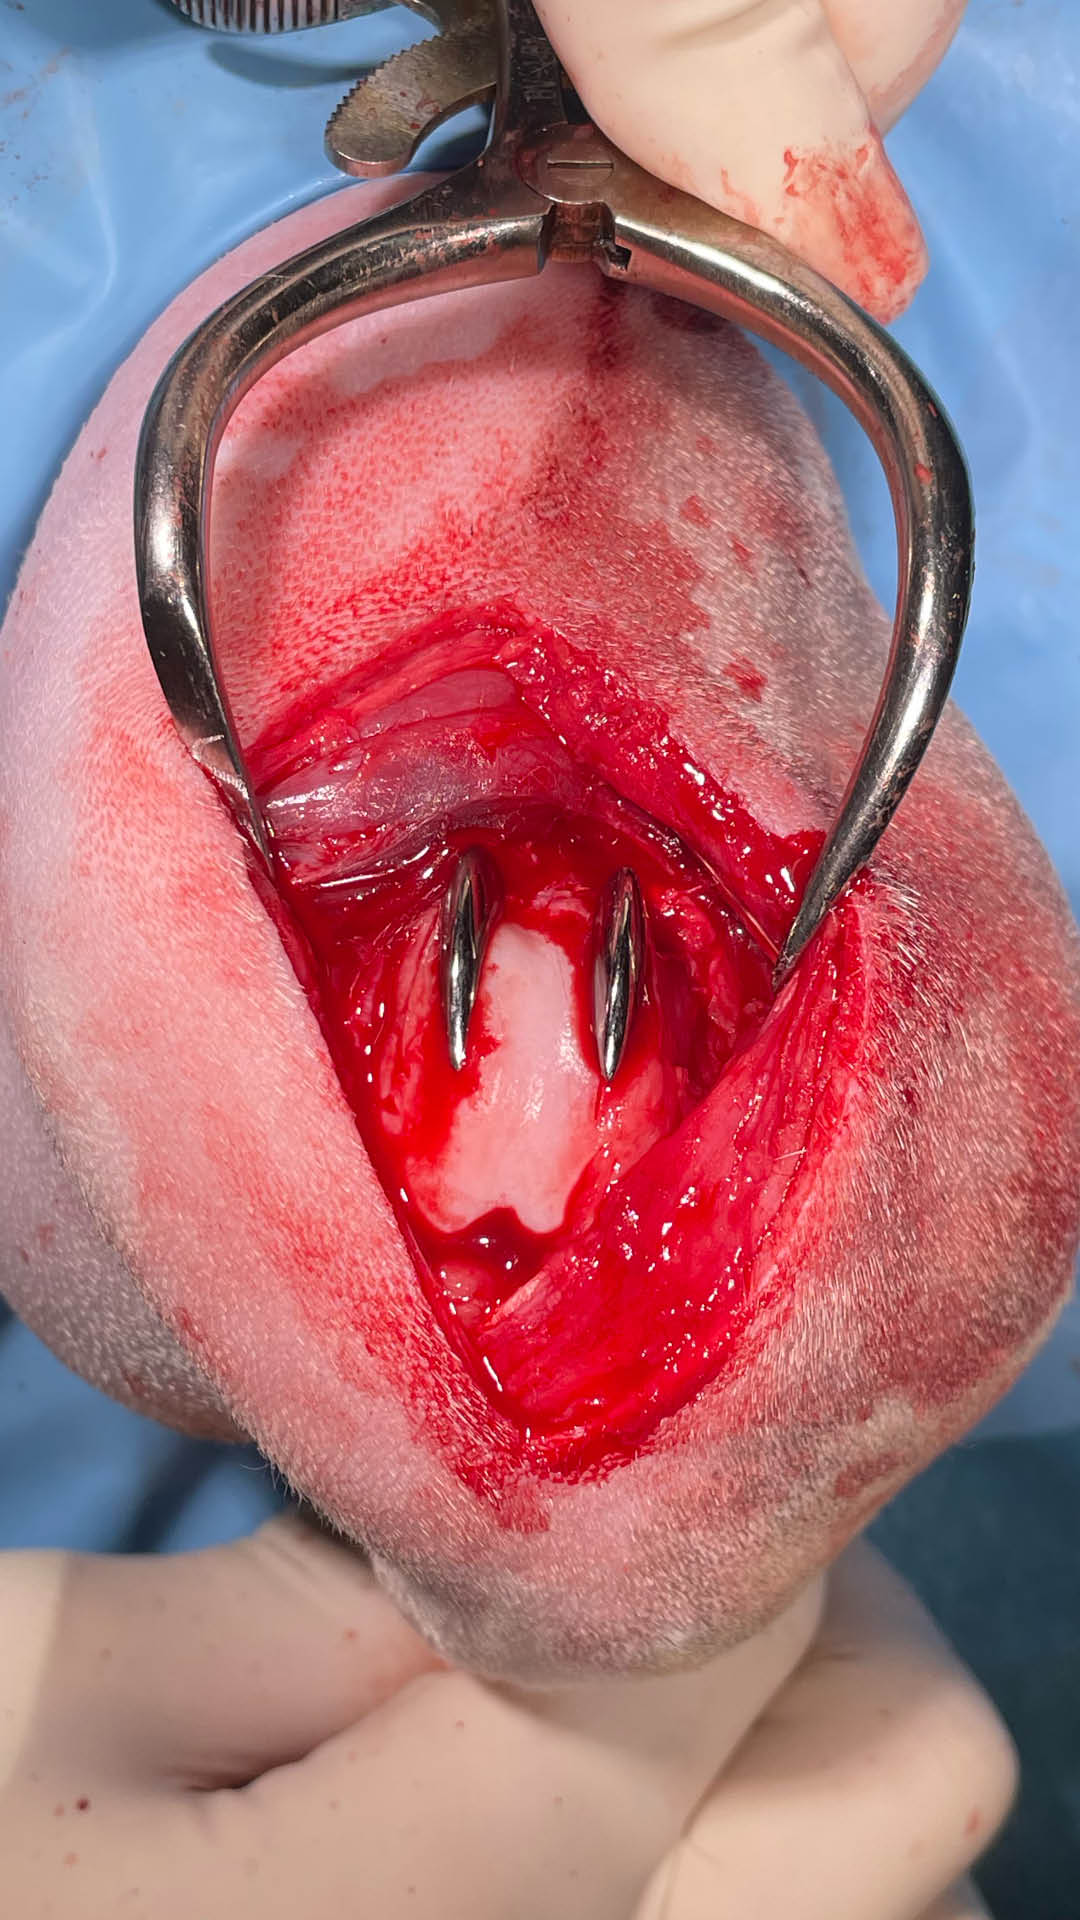
07- Removal of the surgical guide
- Use a No. 11 scalpel blade to remove small remnants of subchondral bone
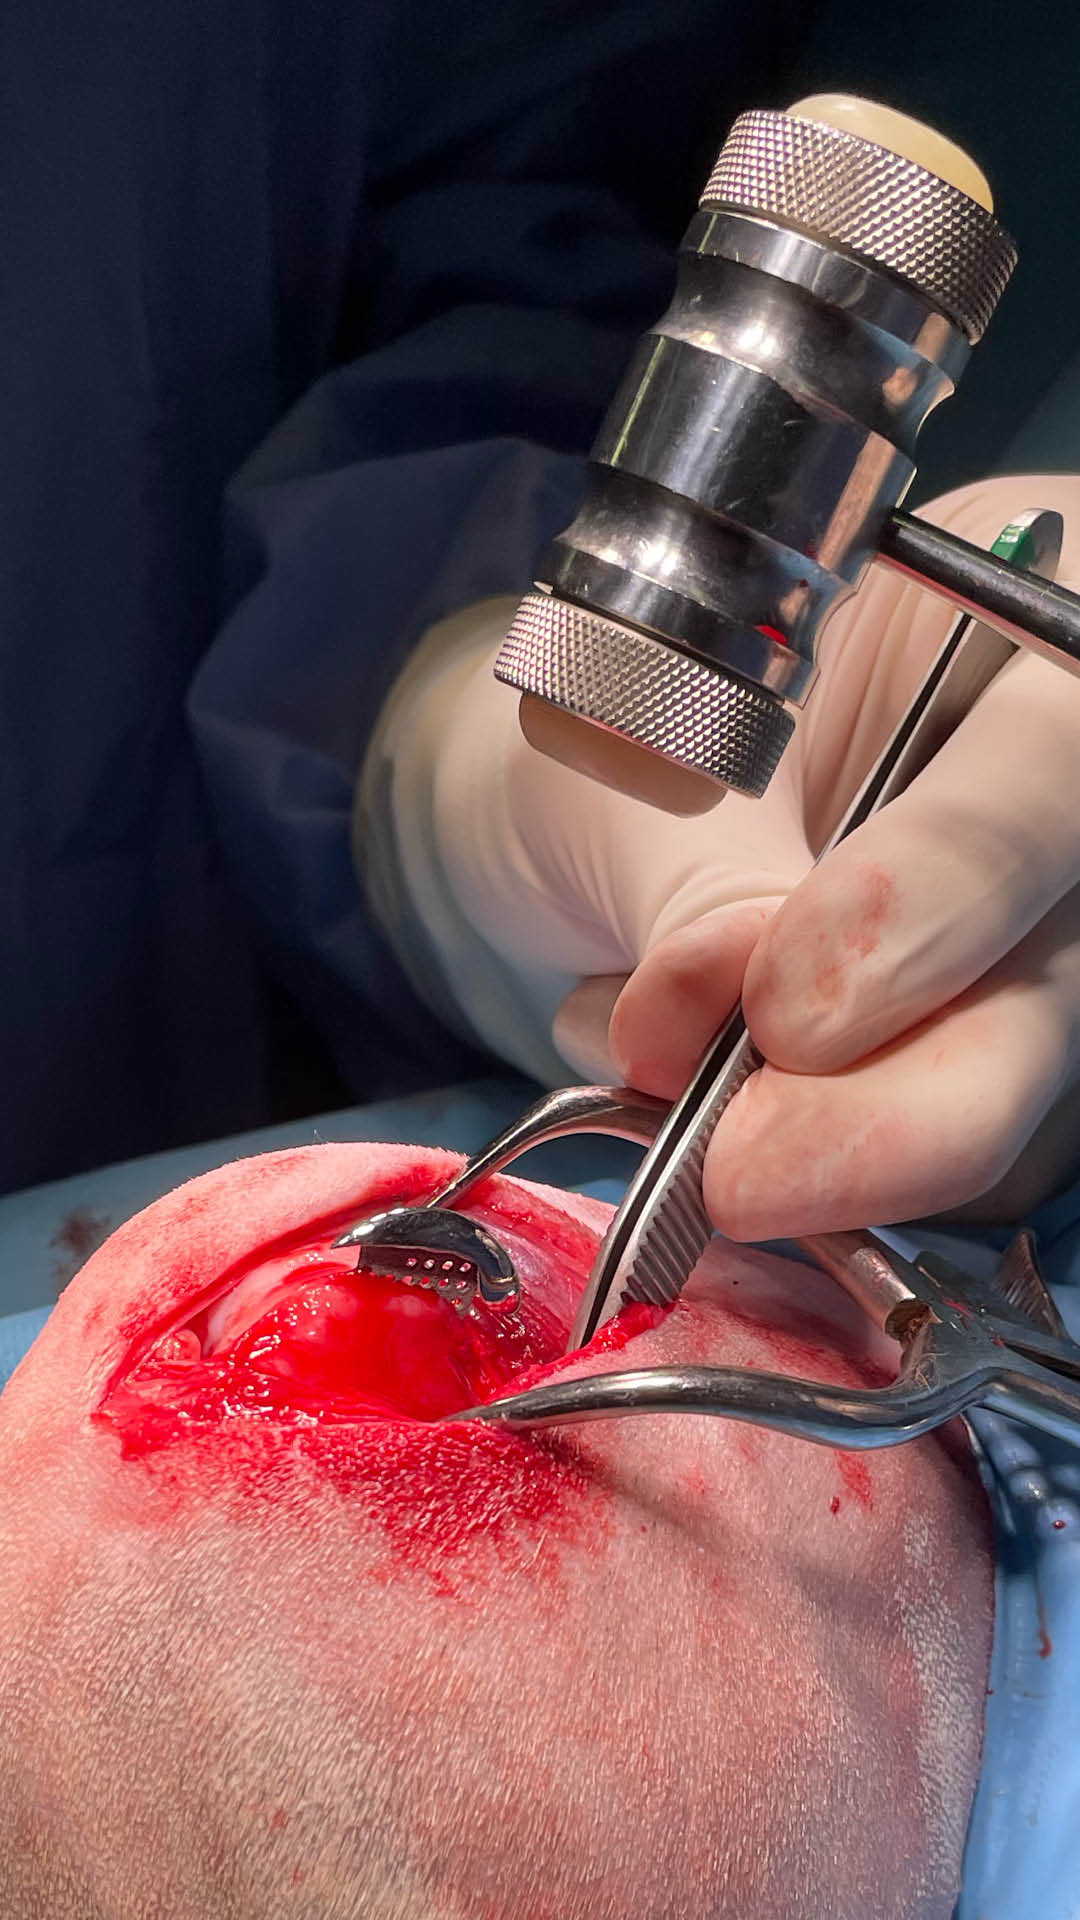
08- Manual placement of the intraosseous portion of the TRP into the osteotomy
- Complete the insertion by gently tapping with a Teflon mallet
09- Final TRP implant
- Check the contact surface between the TRP and the cartilage
- Check for any points of interference with the soft tissues